Displaying posts labeled "Living Room"
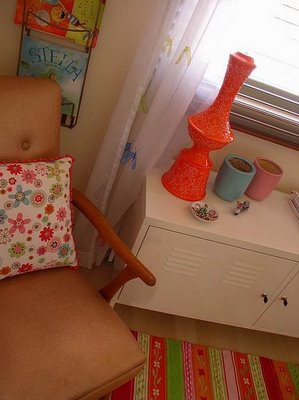
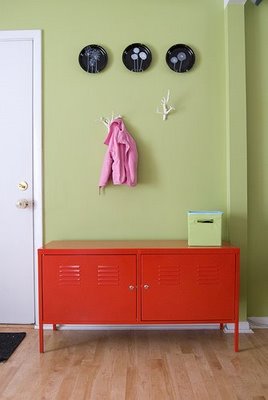
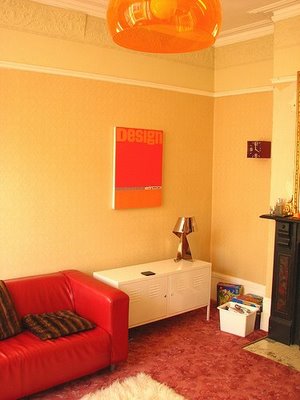
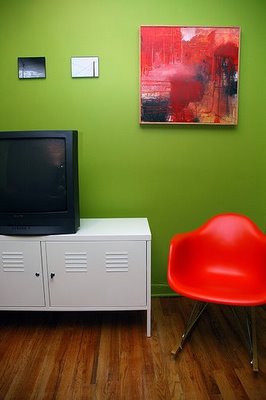
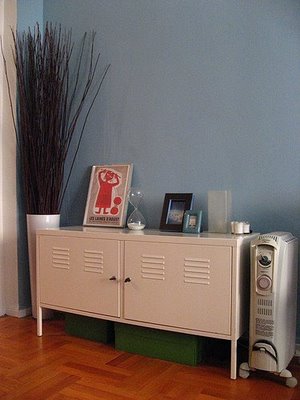
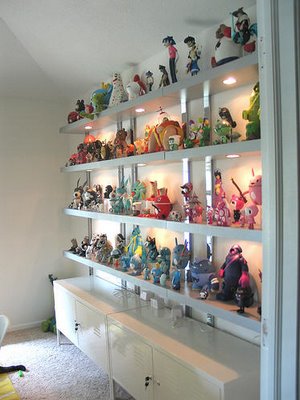
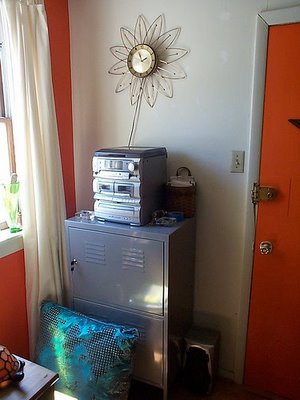
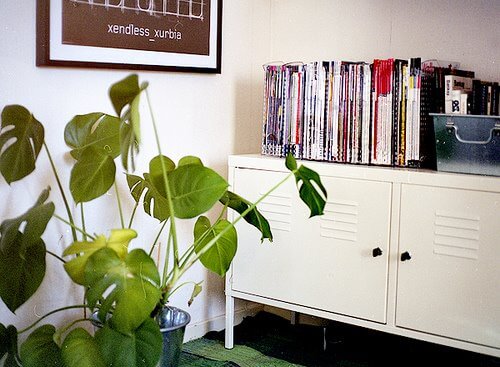
Flickr finds – Ikea PS cabinet
Posted on Sun, 5 Apr 2009 by KiM
Kim’s comfy couch
Posted on Wed, 25 Mar 2009 by KiM
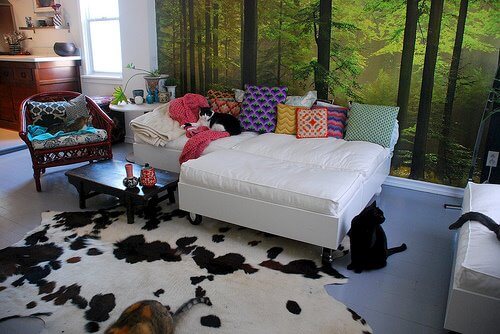
So I finally got around to getting the instructions for my DIY sofa from my boyfriend and he took a few photos to illustrate some key points. Sorry for the delay folks but I have a terrible memory and have been super busy lately. These are in his words, including the title (which I don’t want to take credit for LOL). (Thanks Jeff!!)
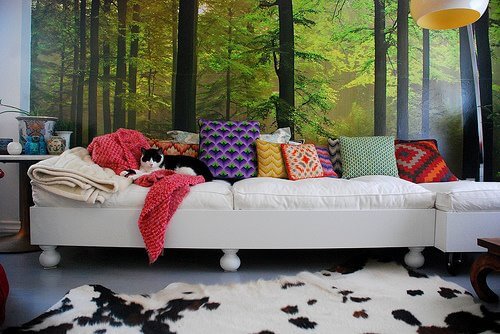
First thing is to measure the cushions you are going to use (we used the Ikea’s Lillberg sofabed cushions). You want the cushions to fit tightly into the sofa. This will keep the cushions fluffy and in place as you get comfy. The pillows should sit 2-3” below your sides depending on the height of your pillows. You can see the difference in this picture:

The frame is made from 2×4’s, the width ones that attach to the legs are first and then 2×4 lengths lay on top around the edges.
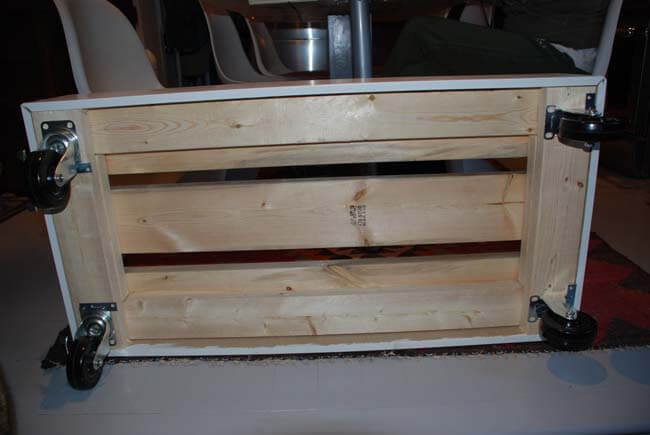
Another 2×4 is cut to fill in the gap so the 2×6’s on top sit evenly.
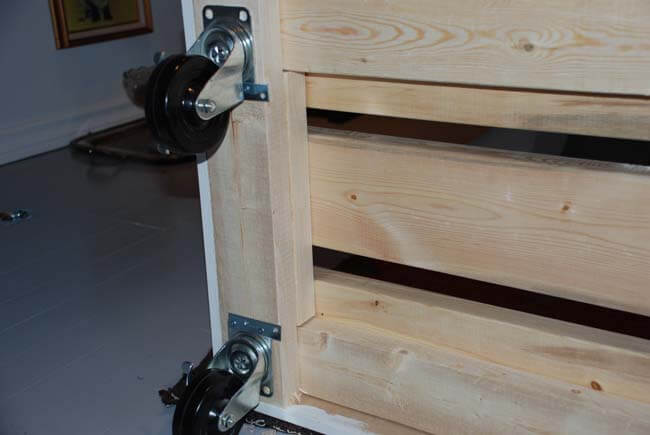
FYI – do not screw your wheels/legs to the couch like this. Use proper screws, something I forgot on the trip to Home Depot. And we’re going to switch out 2 of the casters on each of the 2 moveable pieces to finials, because despite using lockable casters, they still move around too much.
Lay some 2×6’s lengthwise on top. You could use whatever width of wood you want, heavy is good so the couch won’t move around when you are. You can see in the first photo an end view without the MDF.
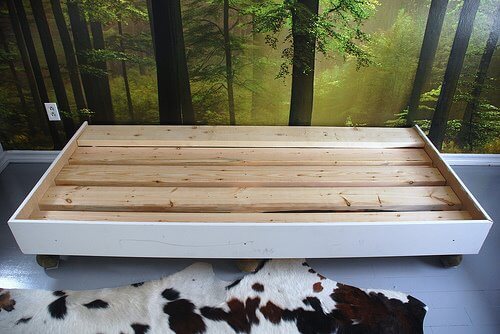
The ledge on the back was made by raising a 2×6 so it would make a space for pillows. If you are going to make a pillow ledge remember to take that into account when making the frame (it was an afterthought on this one).
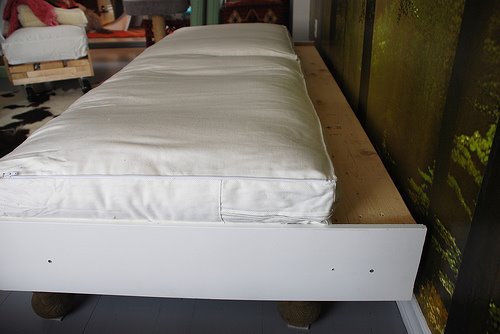
The sides are finished with the MDF and cut at 45 degree angle at the corners.
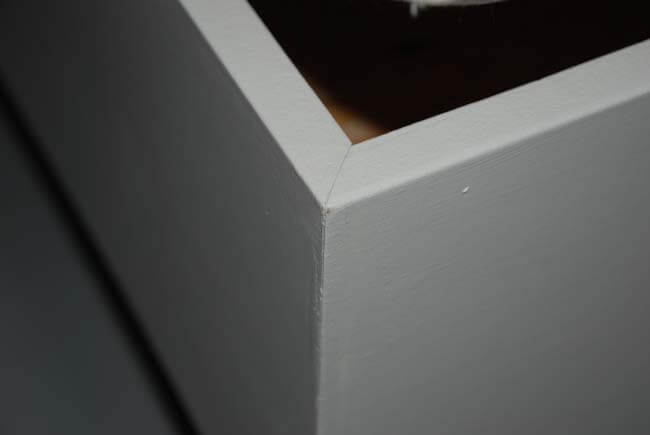
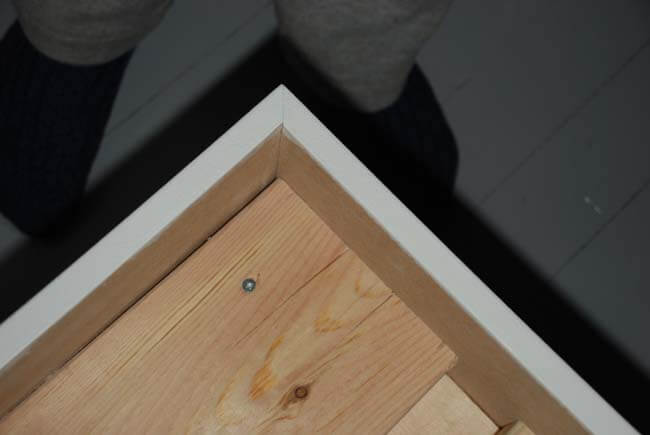
The MDF we used (8″) is the perfect height to reach from the top of the legs to 2-3” above the frame. The couch sits 12” high to the top of the MDF.
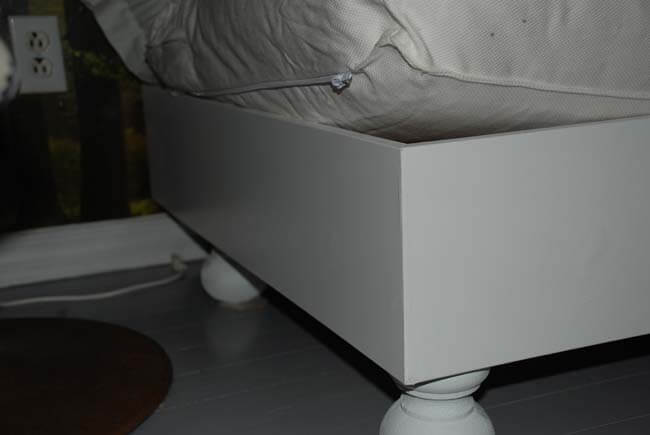
Fill the holes and cracks, prime (we bought pre-primed MDF), paint and accessorize as required (mine still require new pillows – hoping to tackle that ASAP).

My sofa project
Posted on Sun, 1 Mar 2009 by KiM
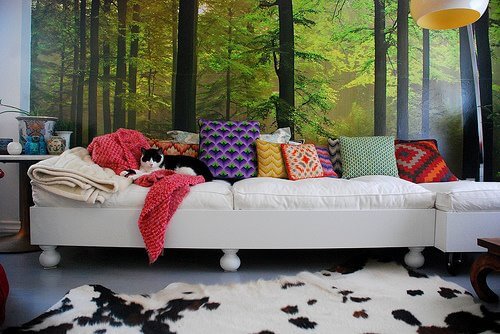
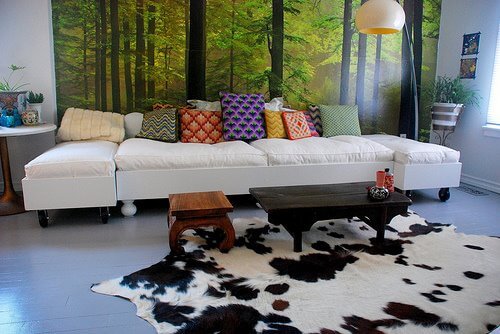
I decided a little while ago that my living room sofa was not working for me. It was cute, I’ll give it that. But it was NOT loungey. Definitively not wide enough for my boyfriend and I to sprawl on and watch movies. I’m hoping to find it a new home since I have no other room to put it in. I knew I’d never find a sofa that would suit my needs and my budget so my boyfriend and I built one. Since our carpentry skills are limited, I am quite surprised it turned out as well as it did. We finished building it a few days ago, and I painted it Friday.
Since I wanted something low and loungey, I figured the easiest way to get what I wanted would be to get some cushions, and basically build boxes for them. Instead of buying foam for the cushions, I went to Ikea and bought cushions from one of their sofas where they were sold separately from the frame. There were 4 cushions – 2 for the base and 2 narrower ones for the back. So working with that we built one main base that houses the 2 larger cushions and an individual base for each of the narrower ones. This is the main base before I painted it.

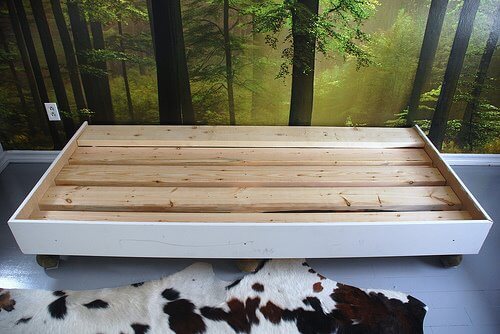
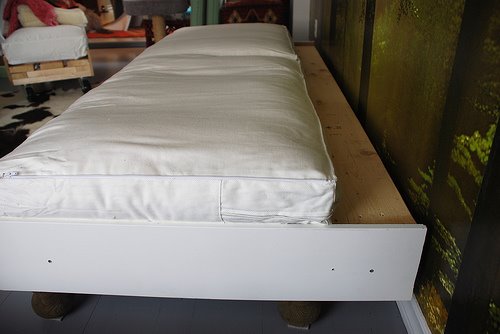
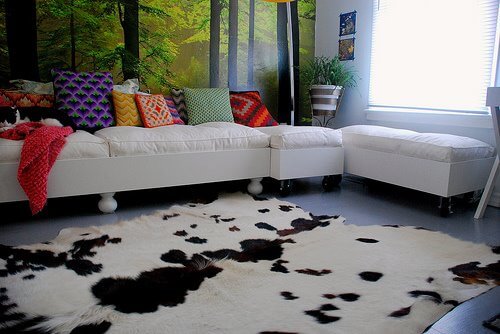
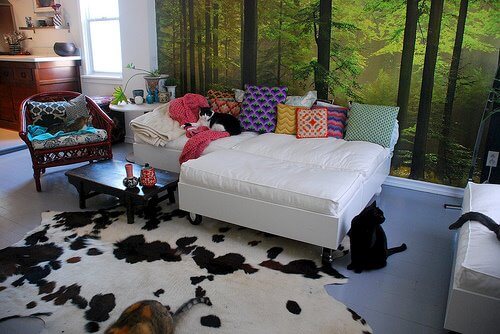
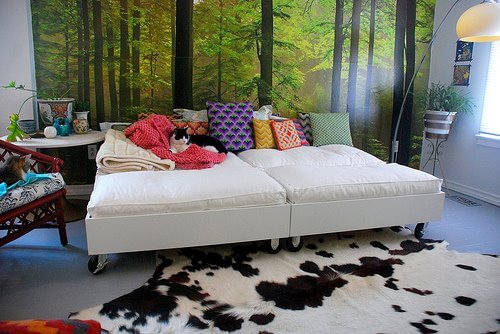
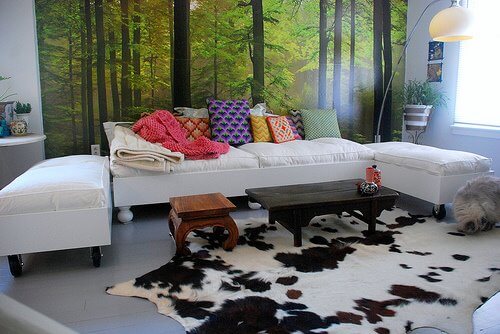
We used rounded fence post toppers (?) for the feet of the main section (I have pieces of furniture pads underneath them in the photos because it weighs a ton and I’m worried it’s going to dent the floor), and casters for the feet of the 2 smaller sections. This way the smaller pieces could be wheeled around the living room to accommodate different seating arrangements. Because I wanted a pile of pillows along the back of the main section and I was concerned they would take up too much space, we built a ledge along the back (which you can see in the third photo) to house the majority of the pillows, leaving ample room for sprawling.
I’ve had a couple of chances to try out the new sofa (I’m on it as I type this) and it’s incredible. It’s so versatile and ridiculously comfortable. I need to make new covers for the seat cushions. I bought the covers from Ikea for them but they are a thick canvas and cat hair sticks to it in an obscene way so I need something more cat friendly. I also just threw on a bunch of pillows for the photos below, but I need to buy fabric for new pillows as well. I’m thinking of sticking with neutrals, with lots of texture, and maybe a couple pillows in jewel toned colours to work with the rest of the living room and kitchen. I’m also considering stenciling the frames, but I have to give that more thought.
Here are some photos I took of the sofa with different placement of the smaller pieces.

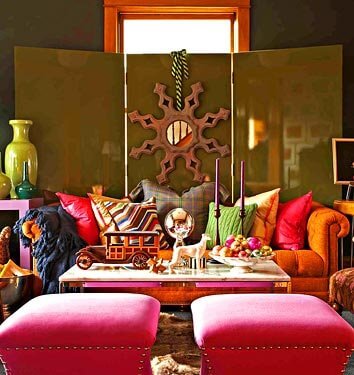
My love for all things eclectic…
Posted on Mon, 26 Jan 2009 by KiM
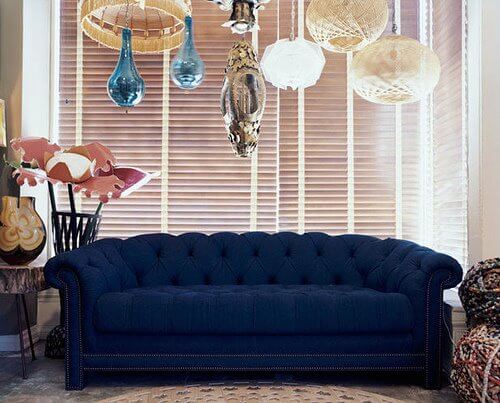
…has me adoring (ok, drooling over) this space.
Chesterfield makeover
Posted on Fri, 16 Jan 2009 by KiM
Georgia wrote looking for some inspiration for a project: “I have inherited and begun to restore a lovely old chesterfield couch belonging to a recently deceased great uncle. It’s a labour of love and I want to love it and pass it on after me. Do you have any images of restored chesterfields? I think I want to step away from that men’s club vibe and modernise it somehow with the covering… any input would be amazing. I think I’m heading away from tufting though, in an effort to modernise and simplify (the upholsterer gave me the biggest smile when i decided this, less work for him). I’m not having much luck locating images of nice revamped chesterfields (leather or otherwise) without the tufting… do you know of any?”
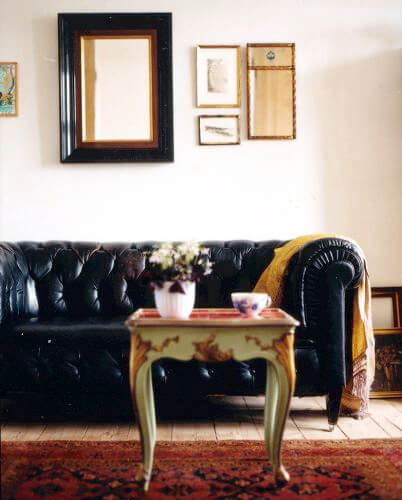
Now I don’t have a photo of Georgia’s chesterfield, but the photo below is what I always envision when I hear the word chesterfield. Leather, black (or brown) with thick rounded arms and lots of tufting in the back.
Mikkel Vang
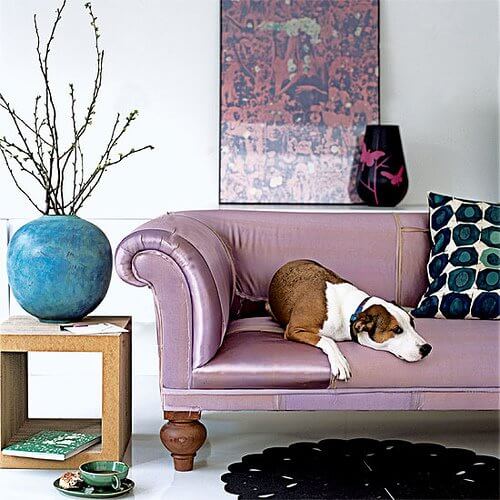
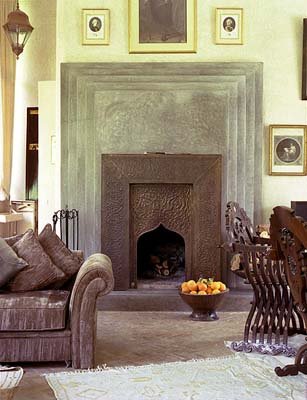
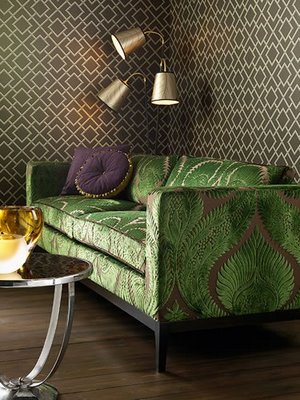
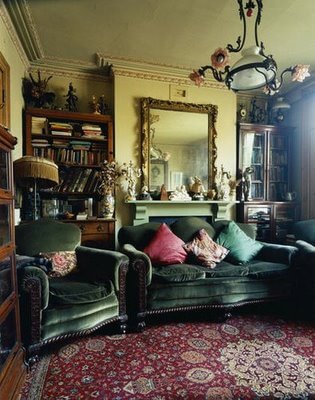
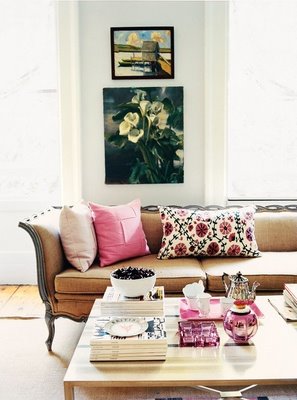
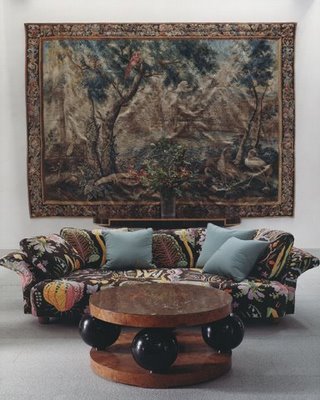
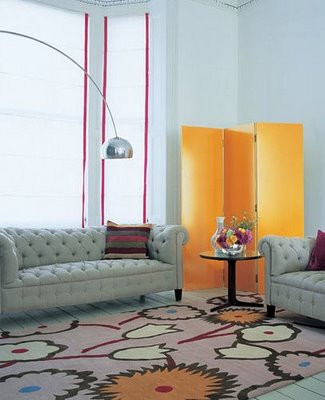
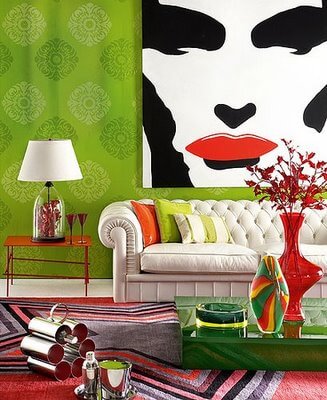
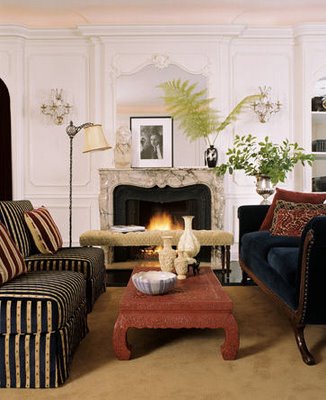
I was a bit disappointed I’ve got to say that she may forgo the tufting, because I think the tufting is the best part, but if it means keeping your upholsterer happy and your wallet a bit thicker… Anyway, it was difficult finding photos pf chesterfields without tufting, so below I’ve included a wide variety of photos to inspire Georgia. Some aren’t quite chesterfields but they have fabulous upholstery, and some are tufted but you’ll just have to imagine the upholstery without the tufting. I am envisioning velvet, maybe charcoal grey for it’s versatility since this is going to be a piece passed along. I do have to say that the first one below has to be one of the most incredible chesterfield-like sofas I’ve ever seen. I’m not sure about the lavender but the unfinished style is totally knock-your-socks-off drop-dead gorgeous.
 |
 |
| Angus McRitchie | Lucinda Symons |
 |
 |
| Sean Myers | Domino |
 |
 |
| Suzy Hoodless | The Rug Company |
 |
 |
| elledeco | Joe Schmelzer |
