Displaying posts labeled "Kim’s House"
Kim’s temporary bathroom redo
Posted on Tue, 13 Apr 2010 by KiM
I mentionned here on DTI a while ago that I was working on another home project but I didn’t give away too many details. I FINALLY finished and now it’s time to share.
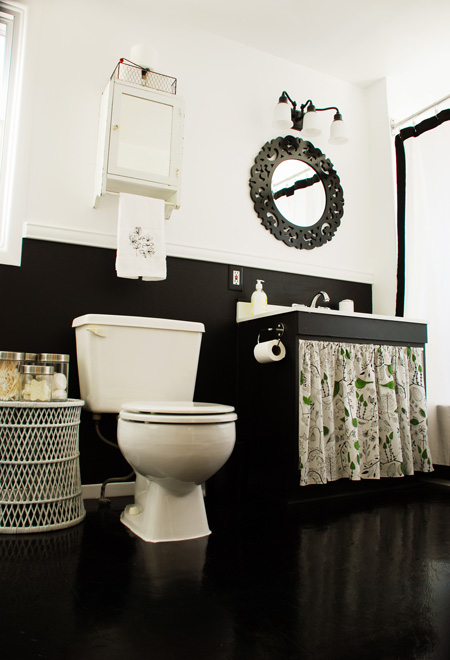
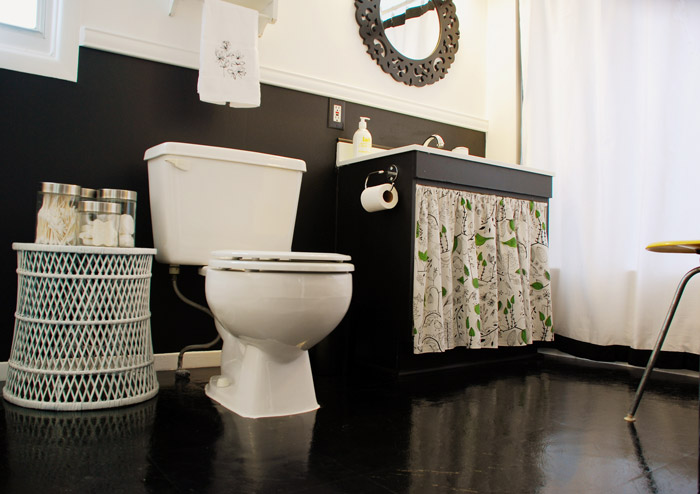
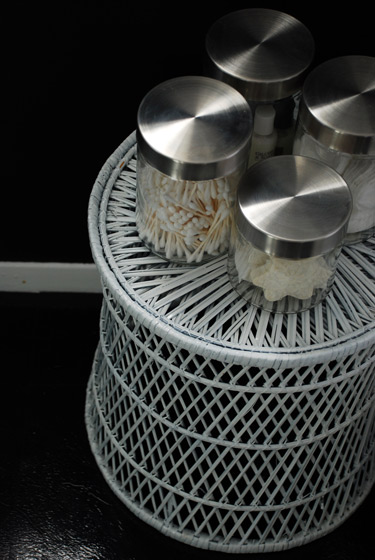
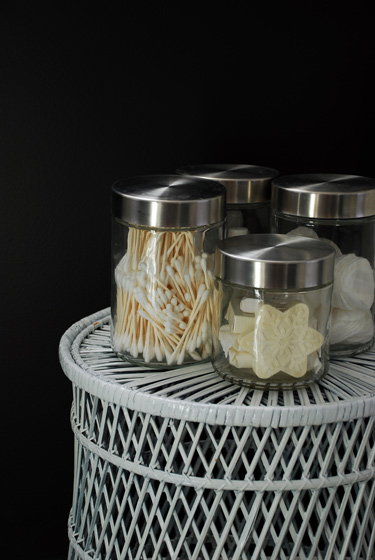
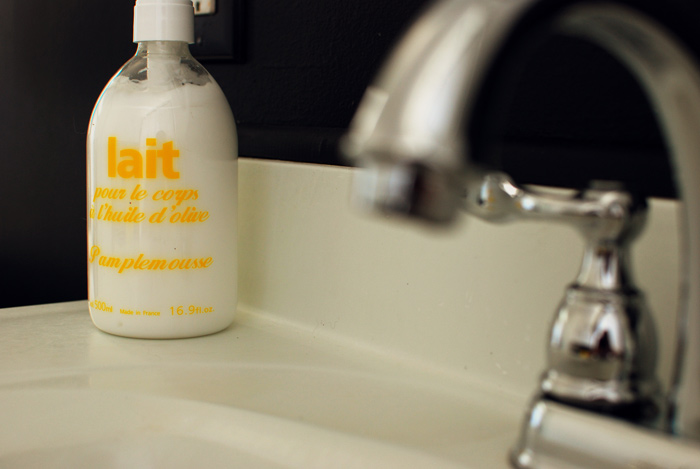
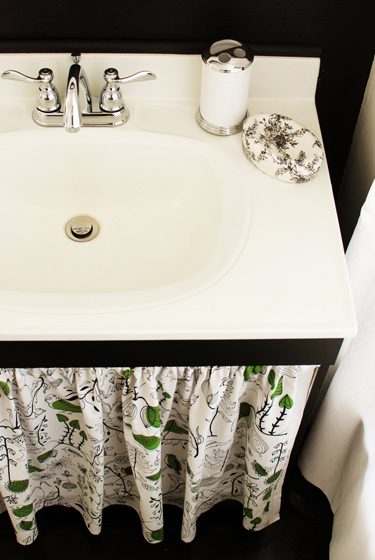
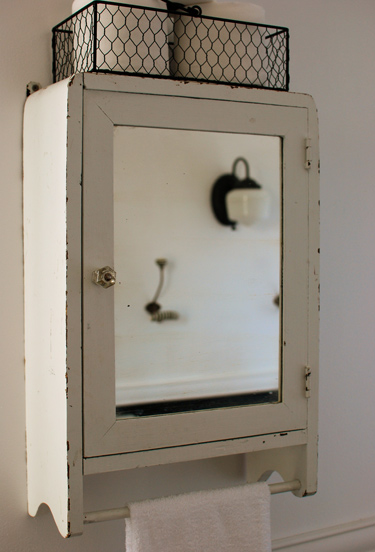
I had grown VERY tired of the ugliness of my main bathroom. One day I hope to gut the space and completely redo every piece of it but in the meantime the ugliness was getting on my last nerve. And I needed a project because I just wasn’t busy enough. (HA). So here are a couple photos of the bathroom before I tackled it – and this is how it had been since I bought the home more than two years ago.

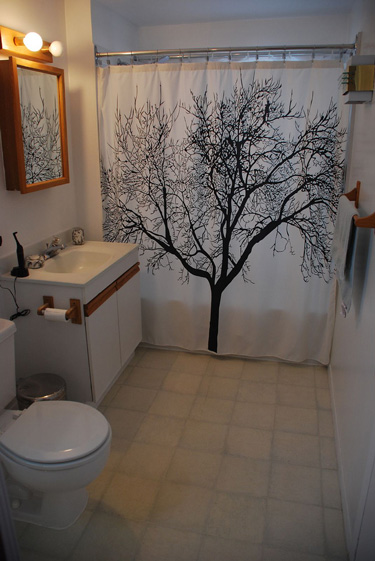
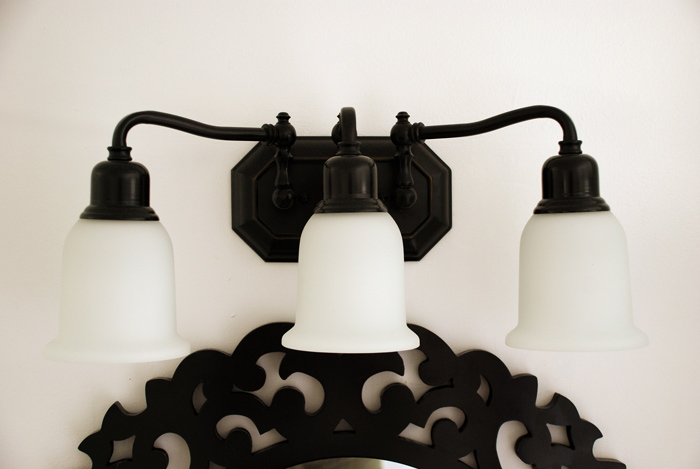
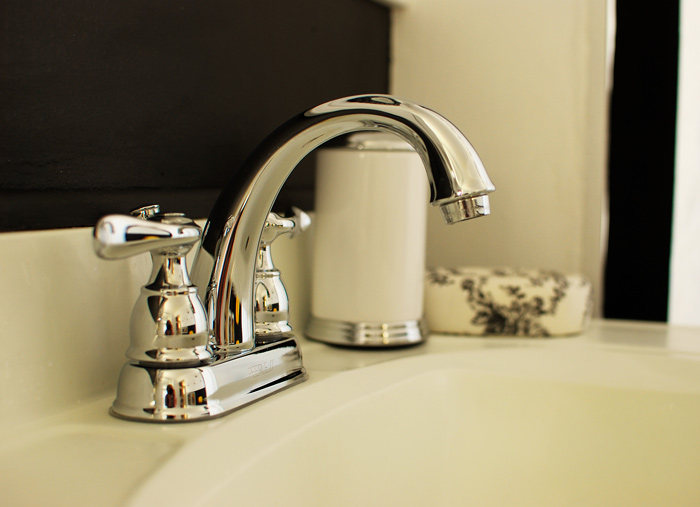
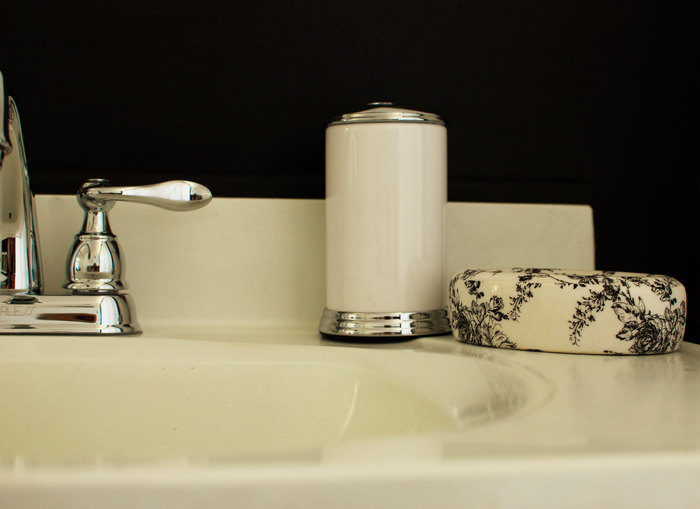
Trust me, it was even worse in person. The linoleum floor was scratched to sh*t, and so dirty and stained it was impossible to clean. The main light fixture, medicine cabinet, towel bar, light switch plate, outlet plate, toilet paper holder were ALL made of nasty wood. SO GROSS. I’m pretty sure the cabinet over the toilet was hung upside down. The faucet was probably the cheapest one you could buy and was missing a piece on the front to cover the screw. The walls were white and BORING. There’s a small window to the left of the toilet that had bright green plastic blinds hanging. There’s a second light fixture on the wall opposite the sink that had a nasty 80s vibe. The whole space was just awful. Until I can gut the room, I decided to do a cheap makeover. Some leftover paint, new inexpensive faucet and lighting, addition of a chair rail, cheap lino peel and stick tiles, some items brought in from other spaces around my house to decorate and VOILA, a temporary fix to keep me from losing my mind.


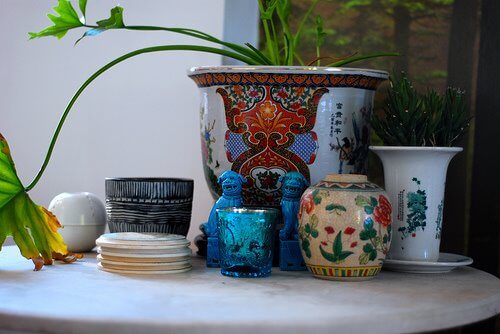
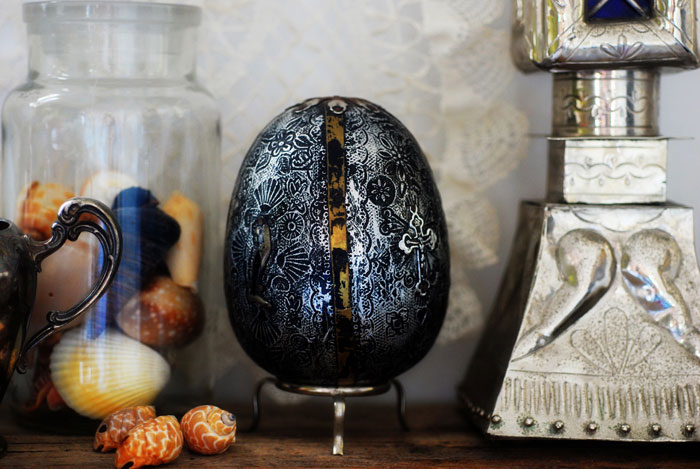
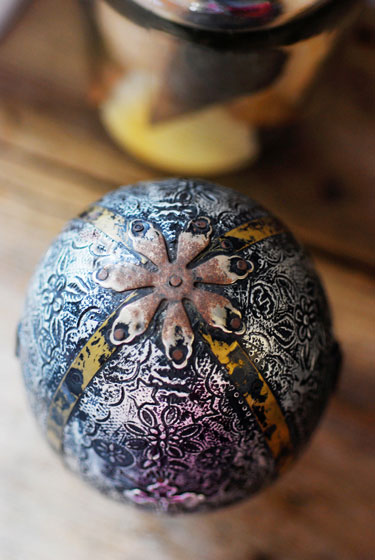
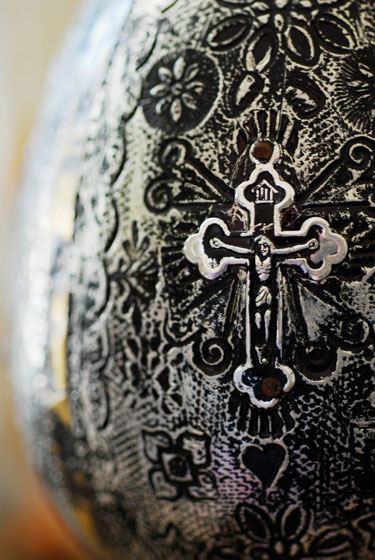
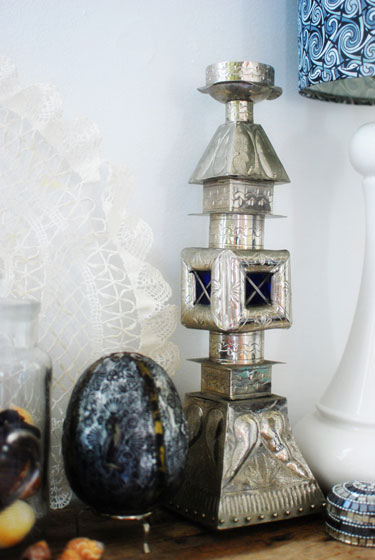
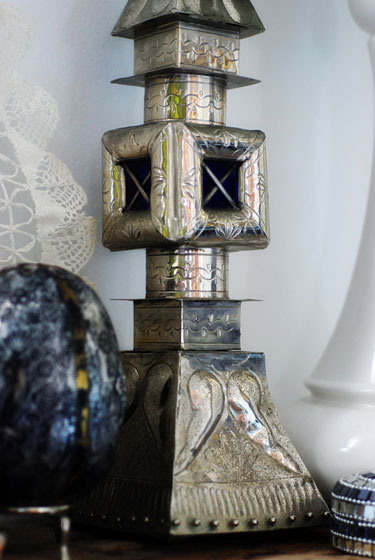
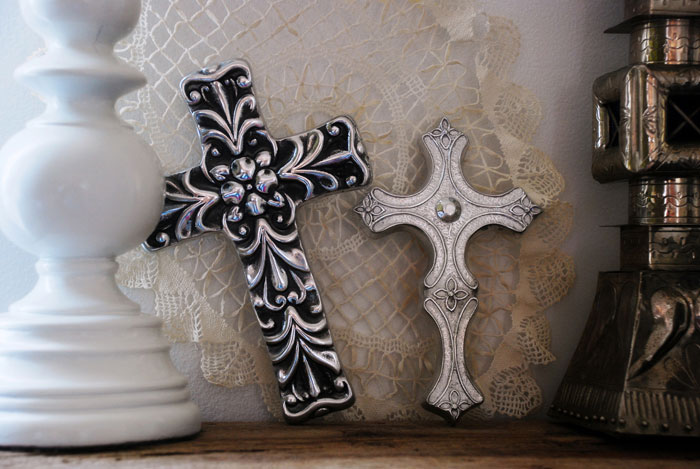
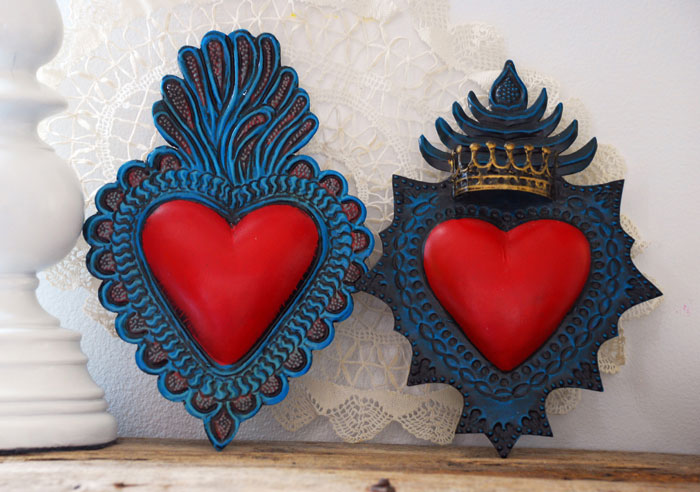
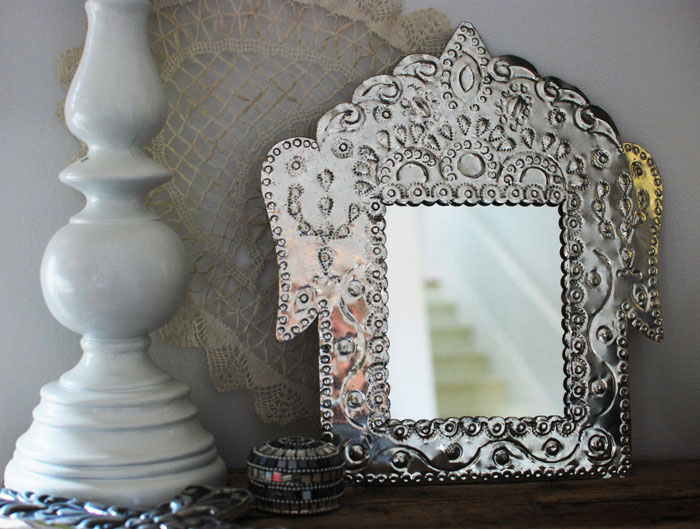
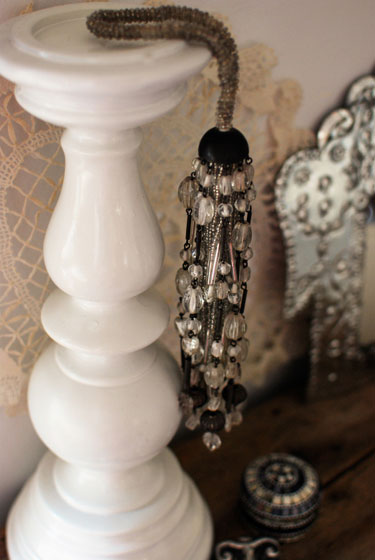
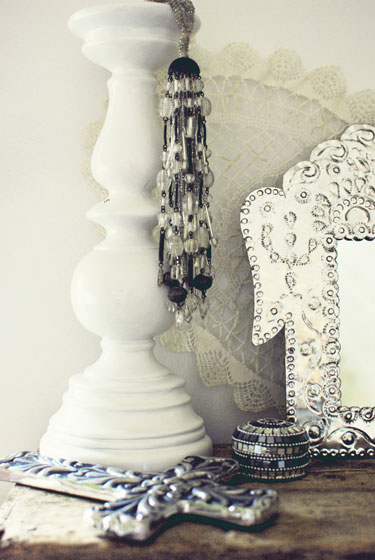
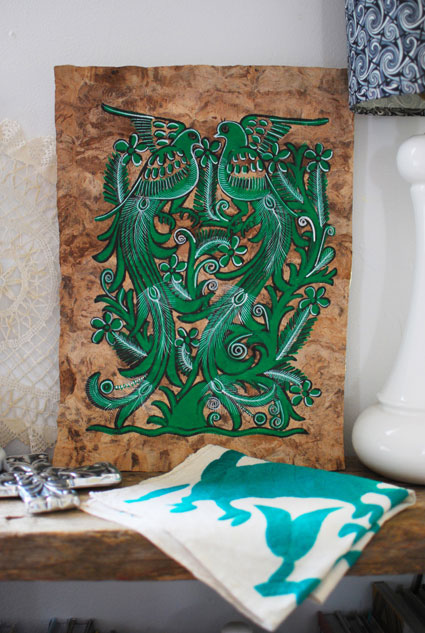
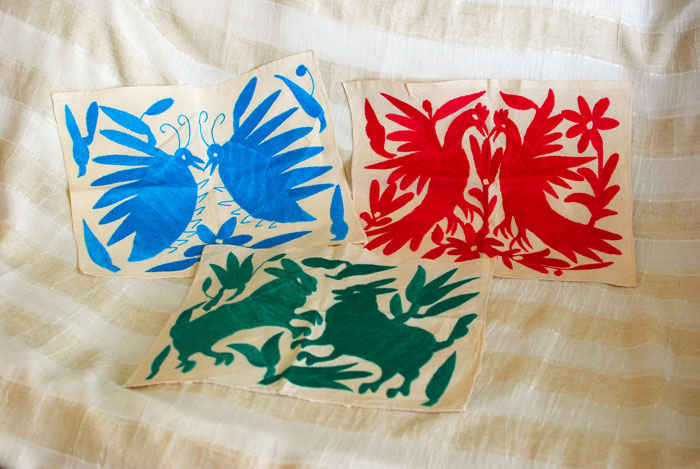
Some of my Mexico finds
Posted on Thu, 18 Mar 2010 by KiM
I’ve been asked several times to show what I came home from Puerto Vallarta with. Besides a wicked suntan, some jewelry, 3 tops, a pair of pants, 3 pairs of super cheap and funky sandals, a bag, a few Spanish shelter mags, a lime squisher and a big bottle of vanilla, I brought back a few things I thought you guys might be interested in (yes, shopping was a high priority on this trip). Keep in mind I only brought one suitcase with me with as little in it as I could possibly manage so there wasn’t much I could bring back. A few of these items I bought with someone you know in mind (sounds like Bo).

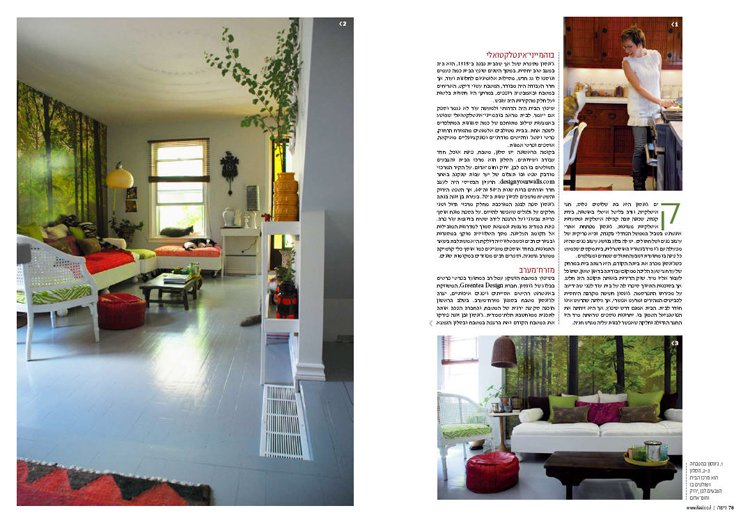
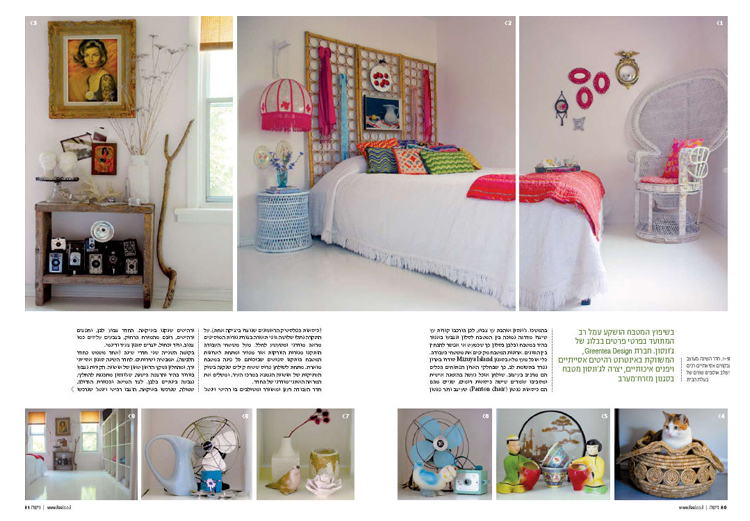
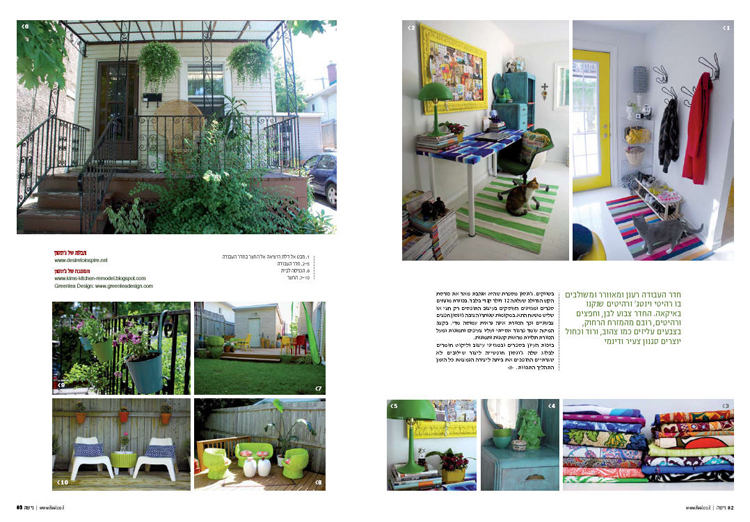
Some love from Israel
Posted on Tue, 19 Jan 2010 by KiM
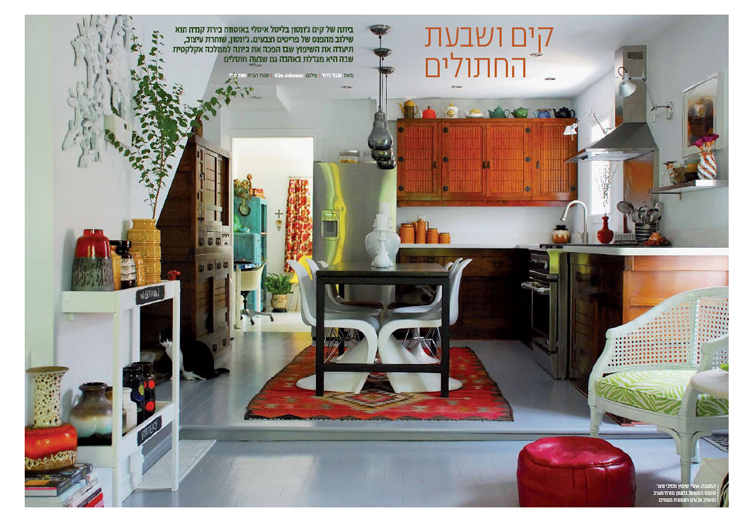
I found a little surprise in my mailbox this afternoon when I got home from work and I am happy to now be able to share it with you all. My home is featured in the latest issue of Nisha, an interior design magazine from Israel. Of course, I can’t read it but I’m sure it’s a great read (LOL) and it’s filled with so many of my photos which is cool considering I am an aspiring photographer (who should really take a course or 3). They sent me a PDF copy a while back which I’ll share instead of attempting to scan the actual article. A huge thanks to Shira for including me in this issue. It’s such a great feeling (and kind of shocking to be honest) to know that people around the world appreciate the work I’ve put into my little Ottawa pad.
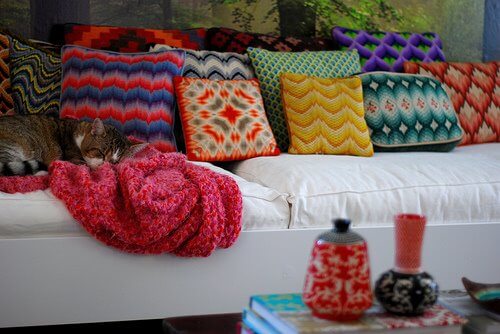
Kim’s comfy couch
Posted on Wed, 25 Mar 2009 by KiM
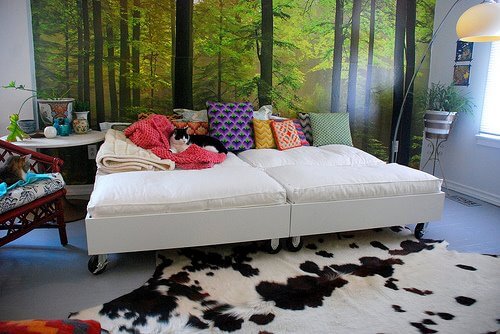
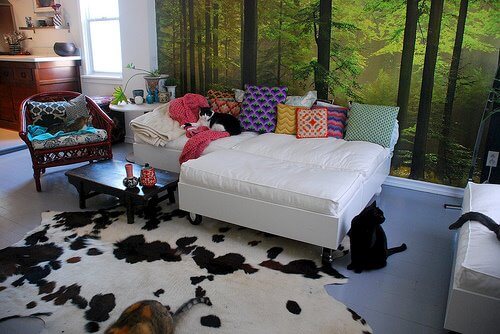
So I finally got around to getting the instructions for my DIY sofa from my boyfriend and he took a few photos to illustrate some key points. Sorry for the delay folks but I have a terrible memory and have been super busy lately. These are in his words, including the title (which I don’t want to take credit for LOL). (Thanks Jeff!!)
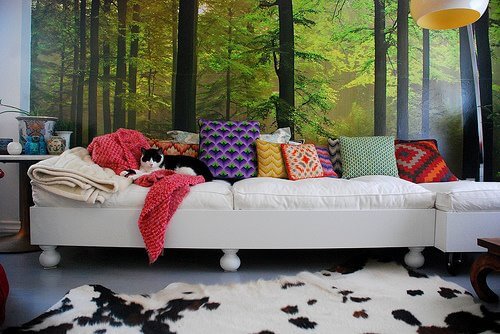
First thing is to measure the cushions you are going to use (we used the Ikea’s Lillberg sofabed cushions). You want the cushions to fit tightly into the sofa. This will keep the cushions fluffy and in place as you get comfy. The pillows should sit 2-3” below your sides depending on the height of your pillows. You can see the difference in this picture:
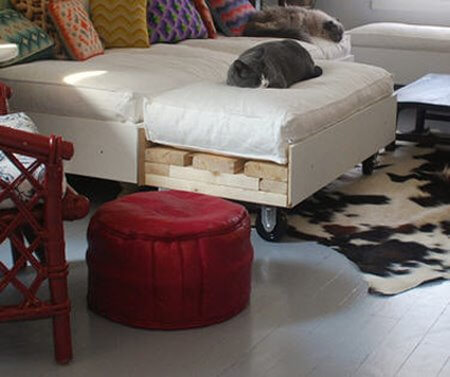
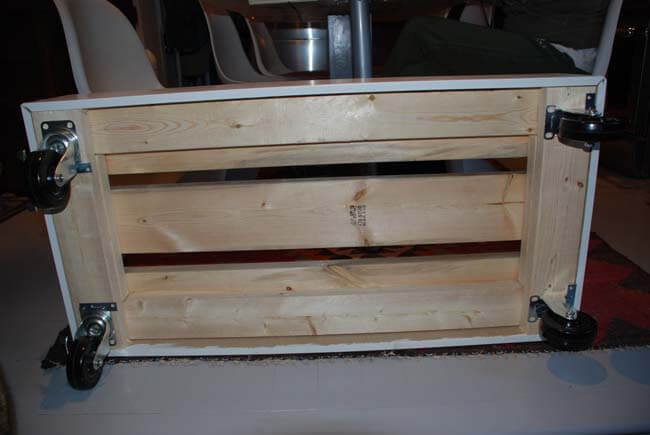
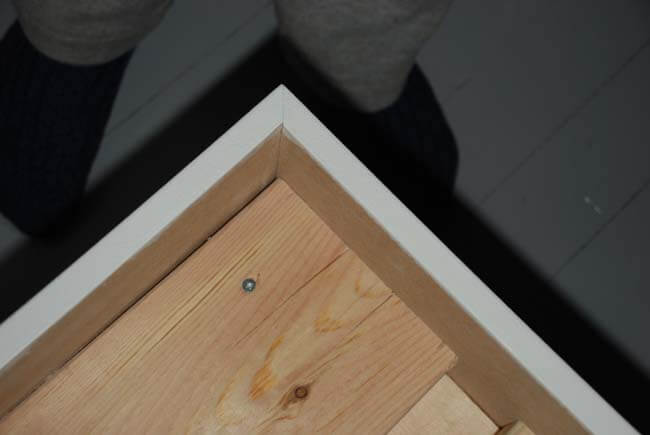
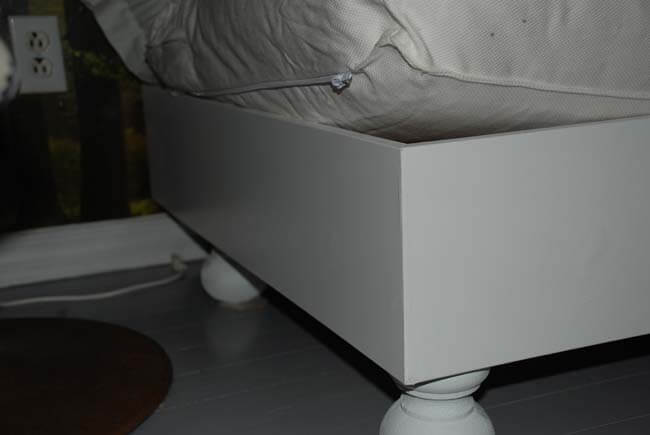
The frame is made from 2×4’s, the width ones that attach to the legs are first and then 2×4 lengths lay on top around the edges.
Another 2×4 is cut to fill in the gap so the 2×6’s on top sit evenly.
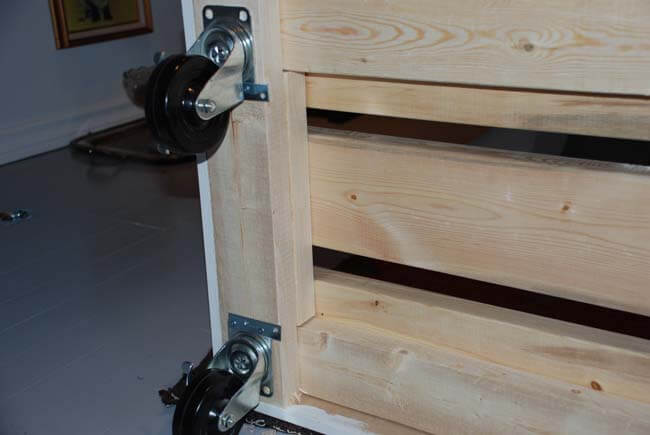
FYI – do not screw your wheels/legs to the couch like this. Use proper screws, something I forgot on the trip to Home Depot. And we’re going to switch out 2 of the casters on each of the 2 moveable pieces to finials, because despite using lockable casters, they still move around too much.
Lay some 2×6’s lengthwise on top. You could use whatever width of wood you want, heavy is good so the couch won’t move around when you are. You can see in the first photo an end view without the MDF.
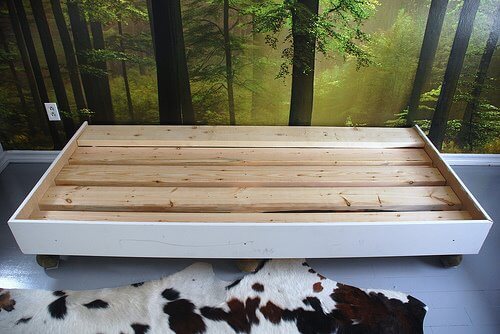
The ledge on the back was made by raising a 2×6 so it would make a space for pillows. If you are going to make a pillow ledge remember to take that into account when making the frame (it was an afterthought on this one).
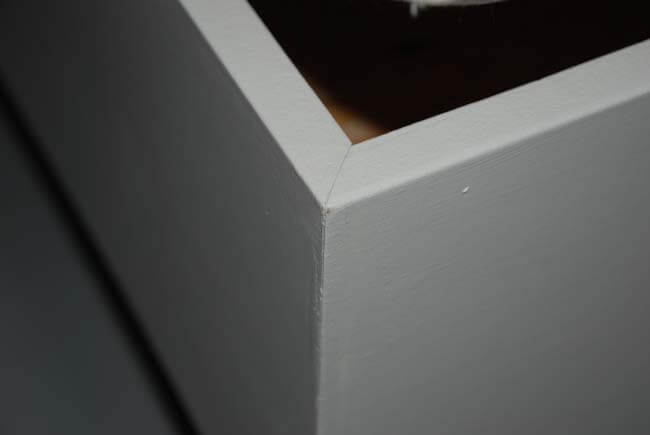
The sides are finished with the MDF and cut at 45 degree angle at the corners.
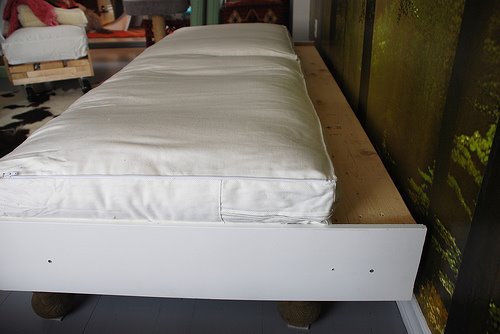
The MDF we used (8″) is the perfect height to reach from the top of the legs to 2-3” above the frame. The couch sits 12” high to the top of the MDF.
Fill the holes and cracks, prime (we bought pre-primed MDF), paint and accessorize as required (mine still require new pillows – hoping to tackle that ASAP).
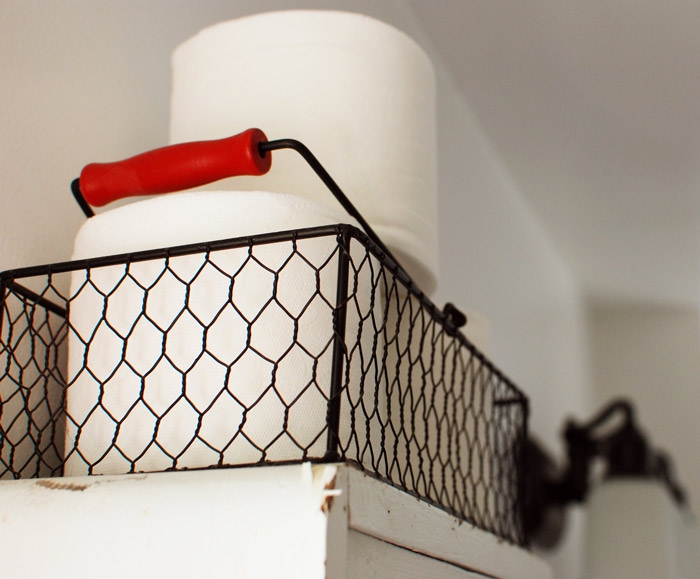
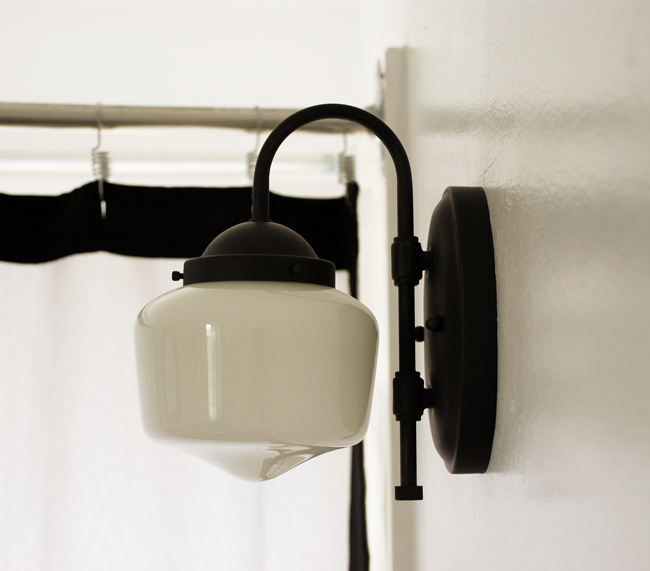
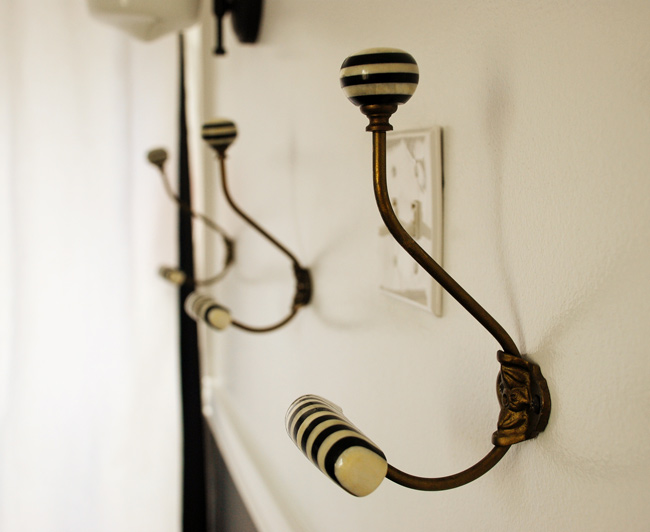
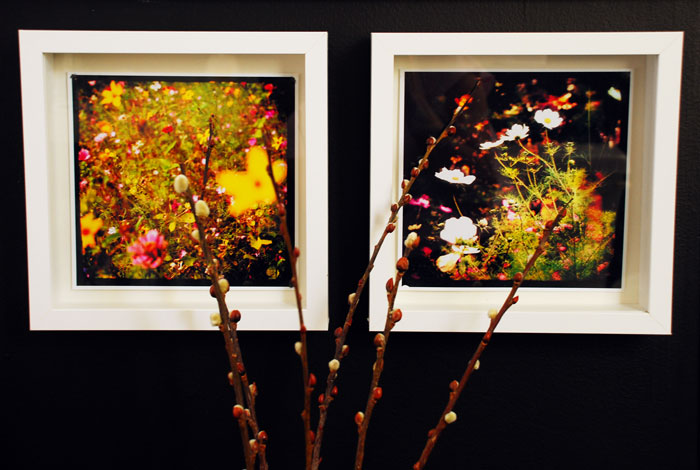
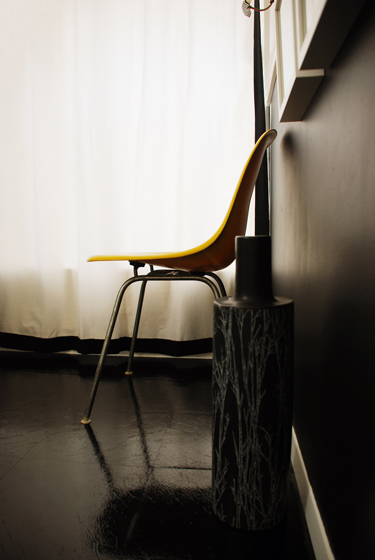
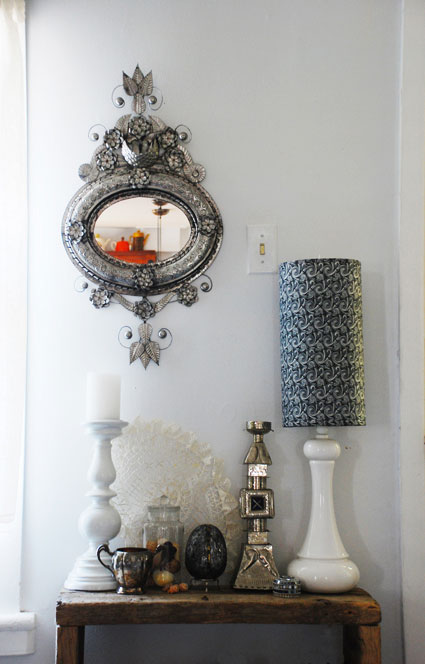
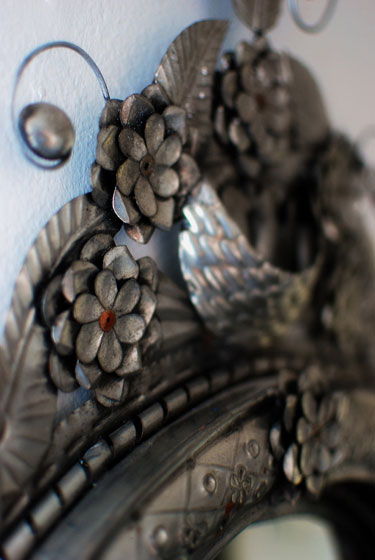
House tour on Apartment Therapy
Posted on Tue, 24 Mar 2009 by KiM
I’ve got big news! I have the honour of having my home featured on a house tour over at Apartment Therapy today. 🙂 Click here for the tour. I’ve been an avid follower of AT for quite some time, and have had some photos of my home(s) included in posts here and there but this is my first house tour. SO COOL. (I’m hoping their readers go easy on the comments as they can often get pretty foul). Here’s a sneak peak of some photos I took for them of nooks and crannies around my house (not sure if these will be included in the tour).