Displaying posts labeled "Renovation"
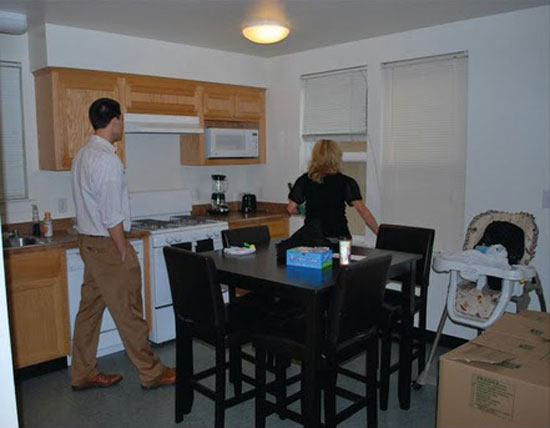
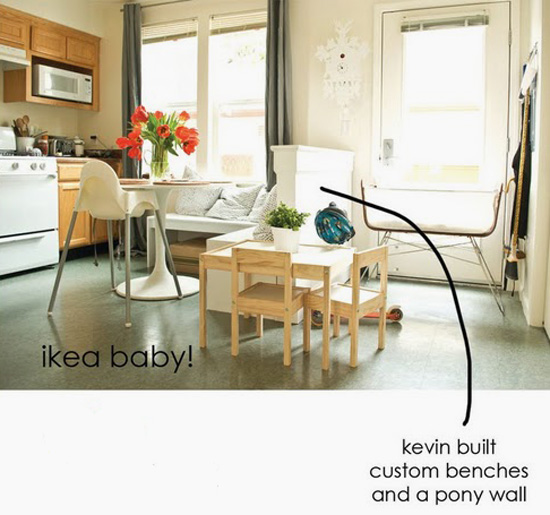
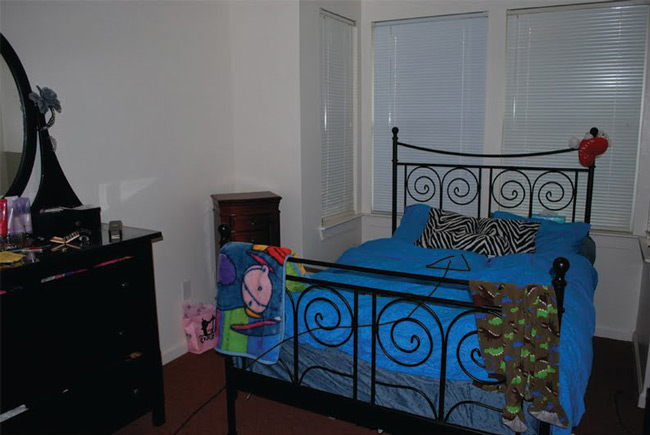
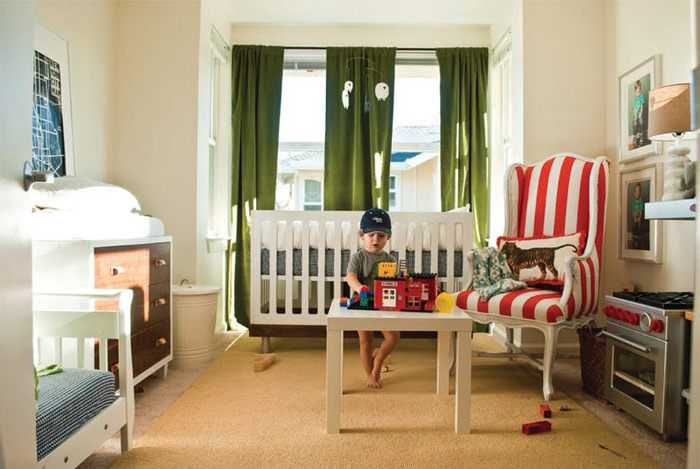
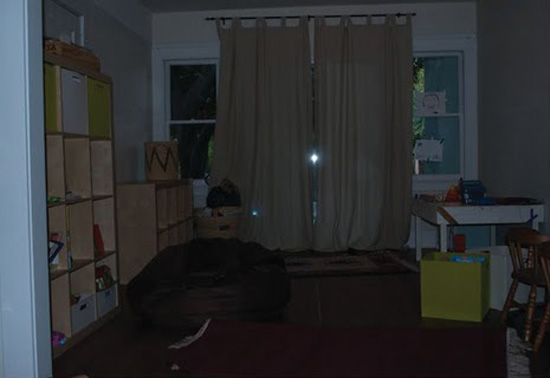
Whitney sent us the following email the other day: My husband and I (along with our three year old son and five month old son) just started an interior design business in the San Francisco area. With the economy down and many people having to rent homes instead of own them (us included) we thought that designing for renters was something the market was missing. We do quick small budget makeovers while the family goes out on a date! 2 hours and you have a new well designed space. What a fantastic idea! They have a blog with details of their business, and below are some before and after photos I found there. Good luck with your new biz Whitney and Kevin!
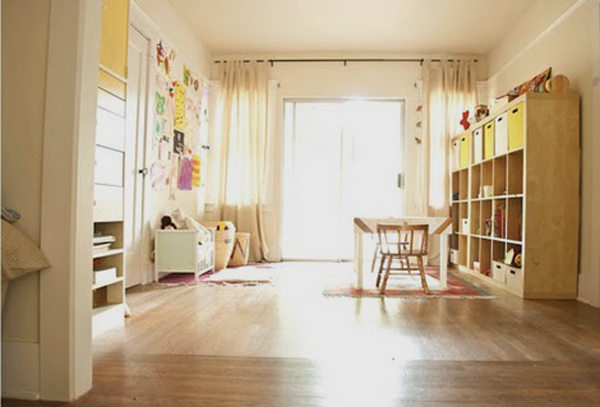
BEFORE
AFTER!
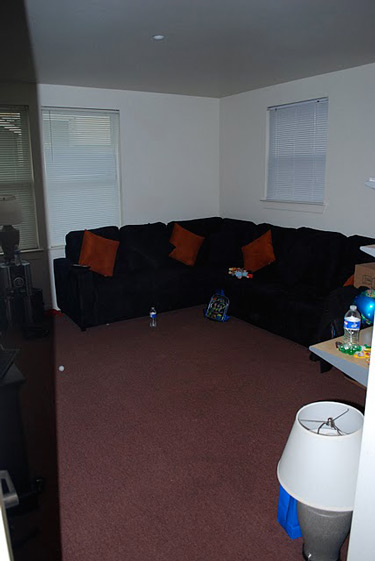
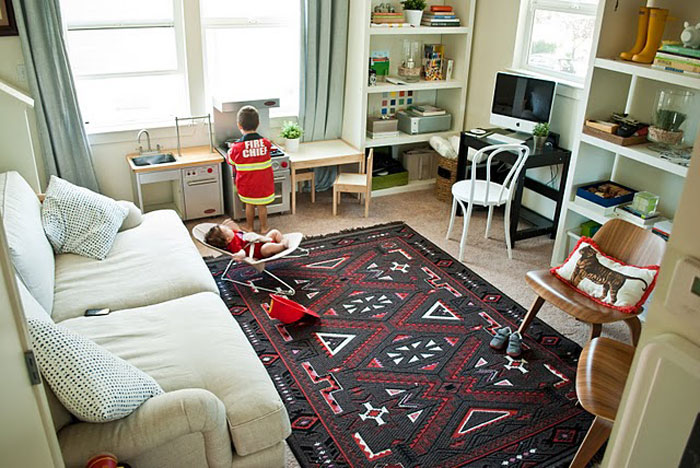
BEFORE
AFTER!
BEFORE
AFTER!
BEFORE
AFTER!
BEFORE
AFTER!
Another amazing reader’s before and after
Posted on Tue, 2 Aug 2011 by midcenturyjo
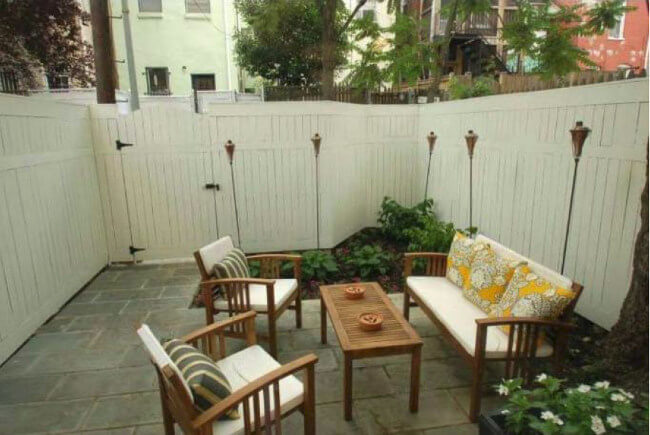
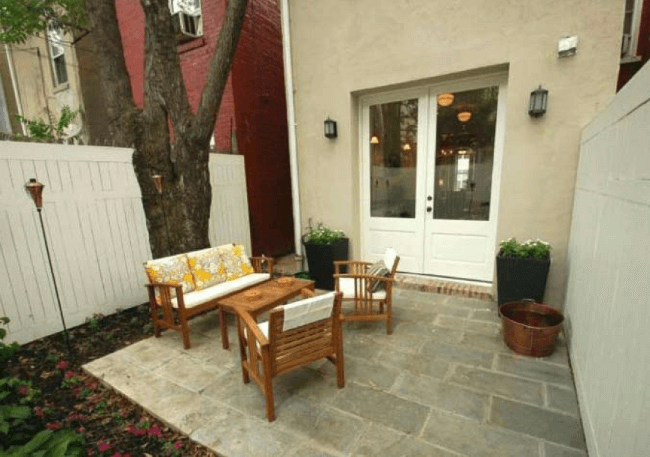
I know how much you love a good reader’s home renovation on Desire to Inspire. So many times you ask for the before shots or more often the after photos. This post should just about satisfy both. Back in February Sonia emailed asking for some recommendations and… wait I’ll just let her explain in her latest email to us.


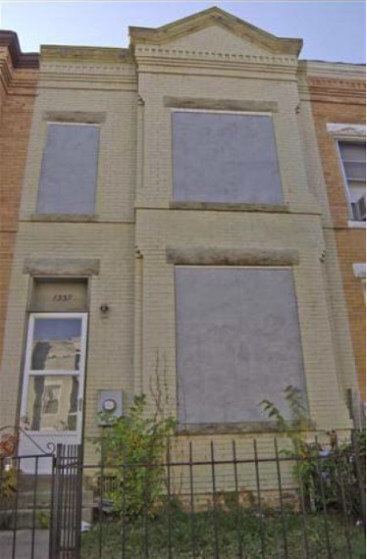
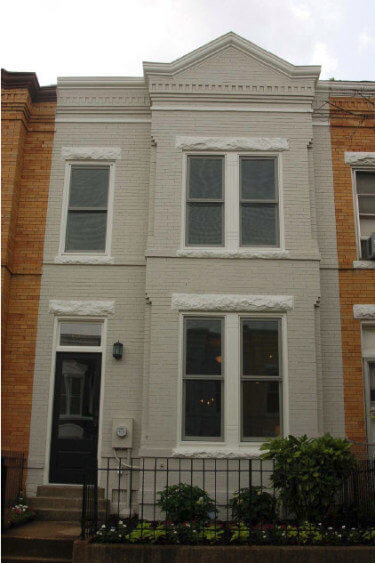
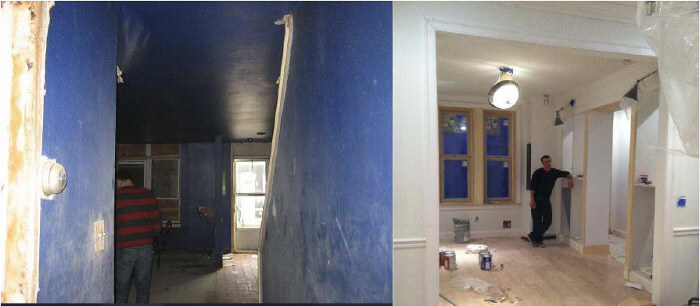
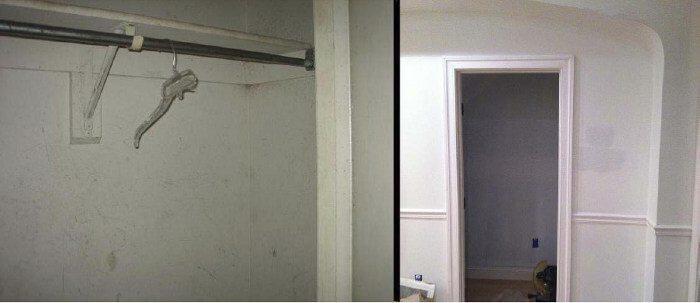
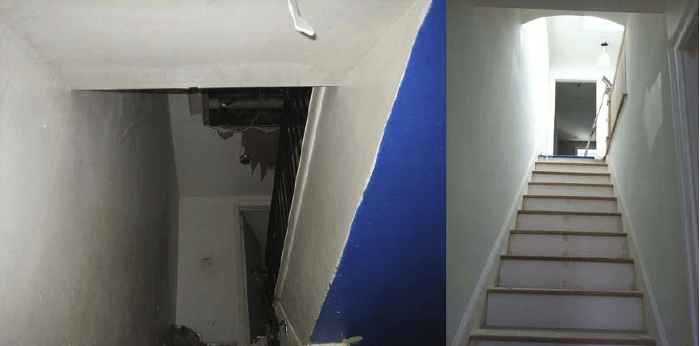
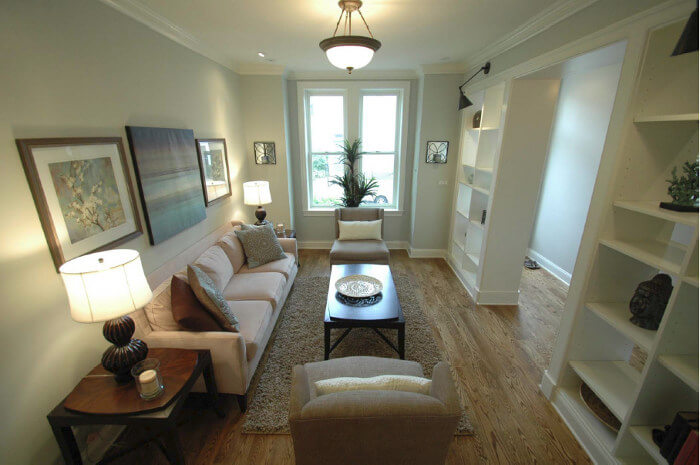
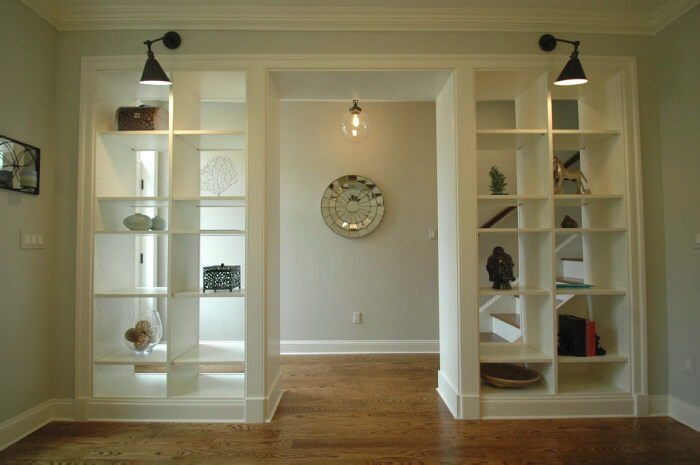
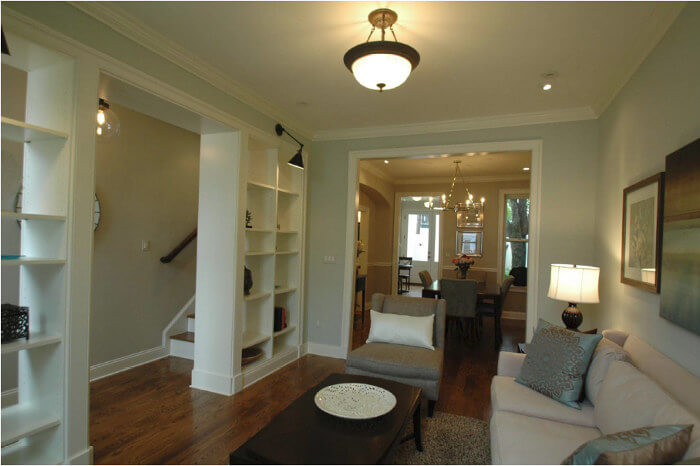
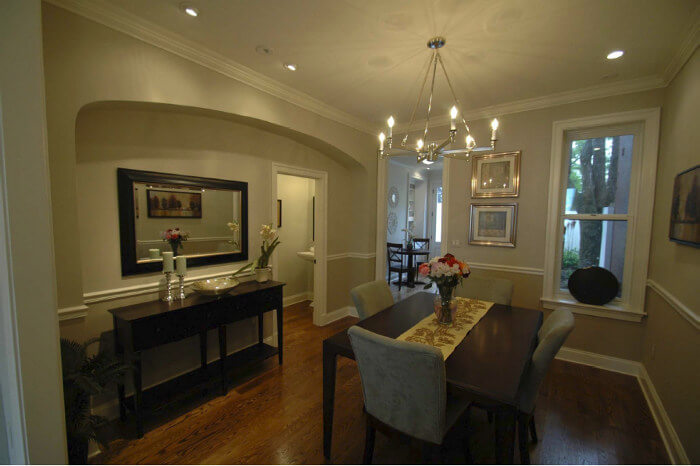
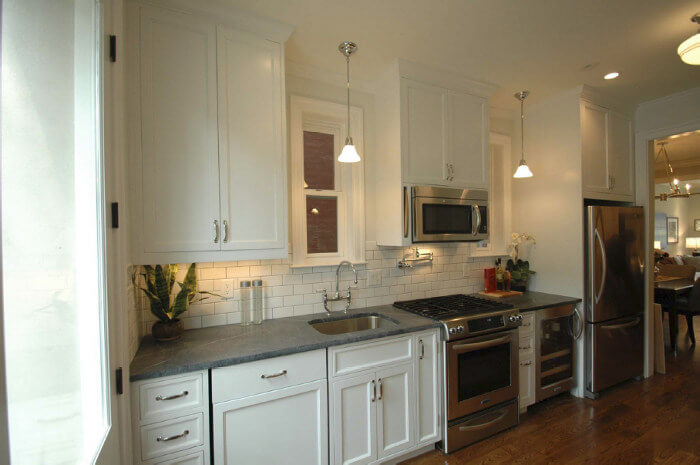
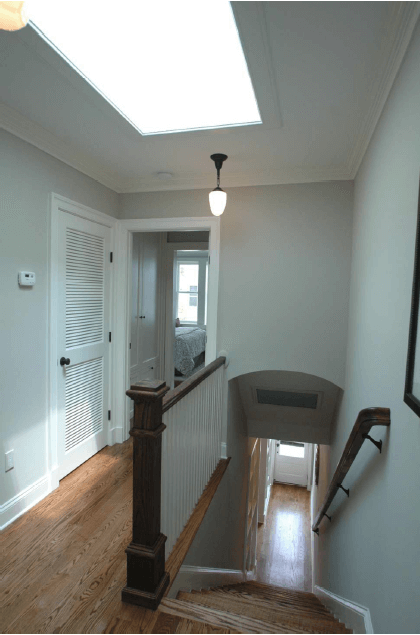
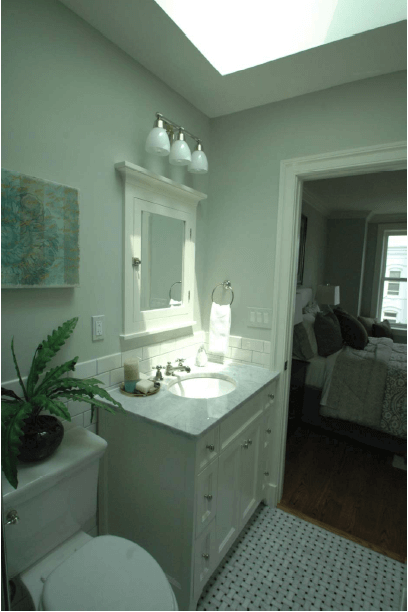
Drum roll please…. the afters! What a transformation! Sonia has just started her classic restoration firm Adams & Duke based in the DC area. The second project has begun. Can’t wait to see the next lot of befores and afters.


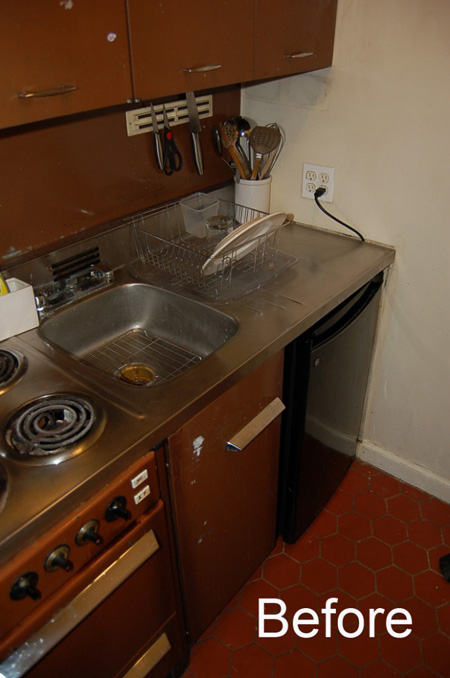
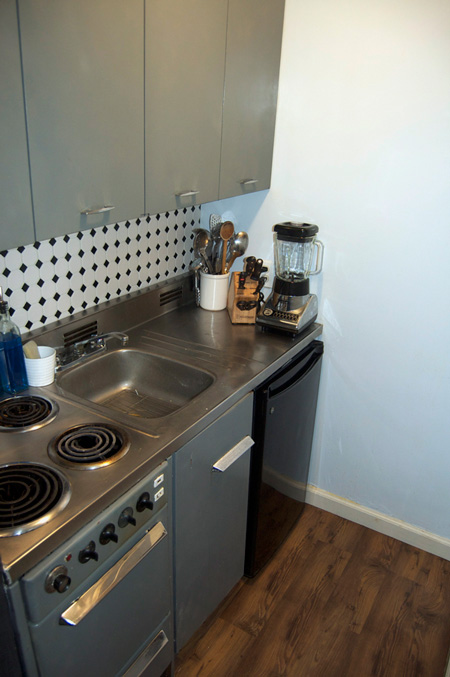
Reader’s home – Paul’s kitchen
Posted on Tue, 12 Jul 2011 by KiM
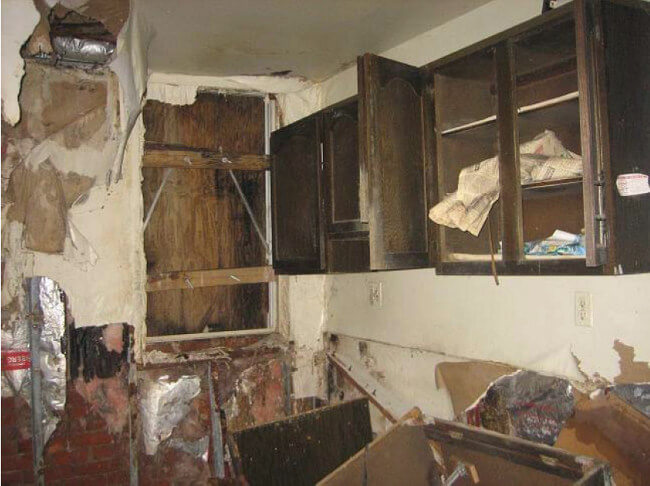
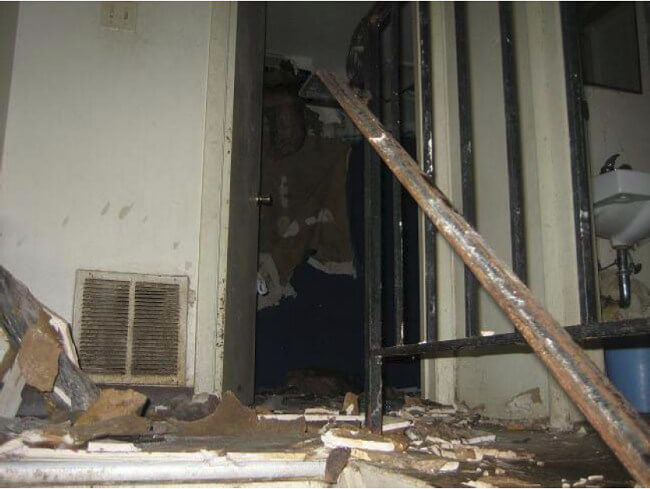
It must be kitchen renovation season. We’re gotten a few reader submissions of their kitchens in the past week so I thought I’d blog them all today. It’s kitchen Tuesday folks!
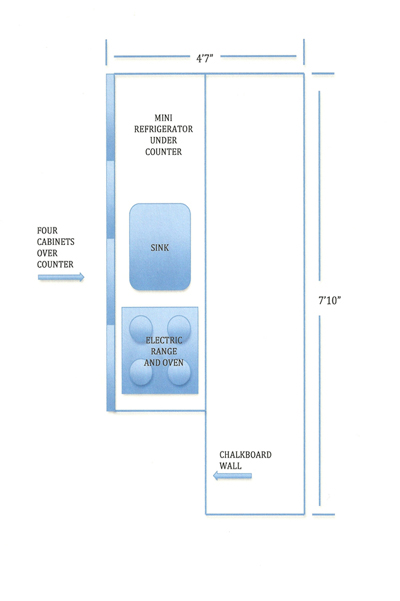
Welcome to Paul’s teeny tiny New York kitchen! He worked some magic on the space, transforming it from REALLY awful to funky and modern for just $285!! (He’s got the breakdown of costs on his blog). I had to poke fun in my response to his email, saying no one cooks in NY anyway (doesn’t everyone use their stoves to stash off season clothes?), but he claims he cooks in his kitchen often. And I bet he’ll be cooking even more now that it’s not such an eye sore. Great job Paul!!

Reader’s home – a local reno
Posted on Tue, 17 May 2011 by KiM
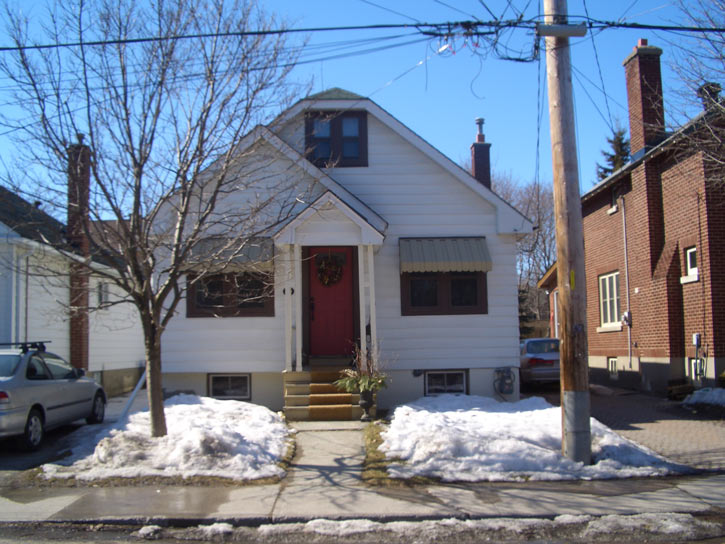
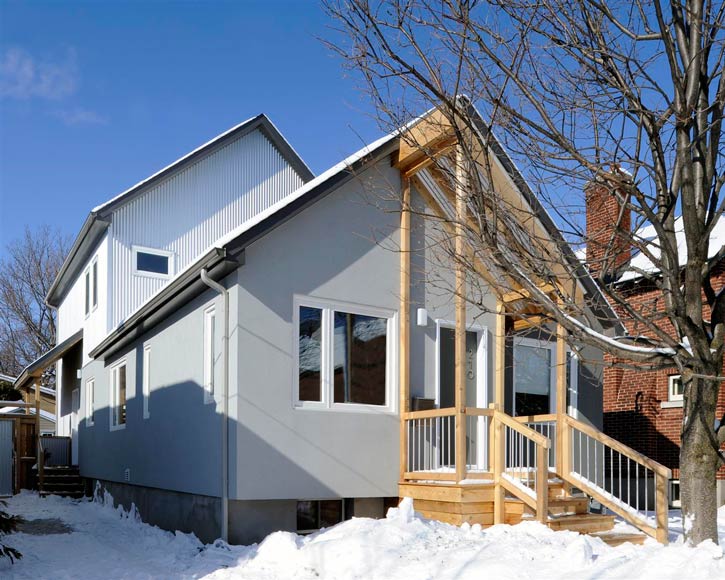
I was SO EXCITED the other day when I received an email from Gillian, a local Ottawan who at one time had grand plans to turn a boring 1945 2 bedroom Ottawa bungalow into something modern and spectacular. Sounds kind of familiar. 🙂 Luckily for Gillian her plans were put into action and completed in November of last year – and the results are FABULOUS!! (and I’m totally going to hit her up for advice throughout my renos). Here’s the scoop from Gillian:
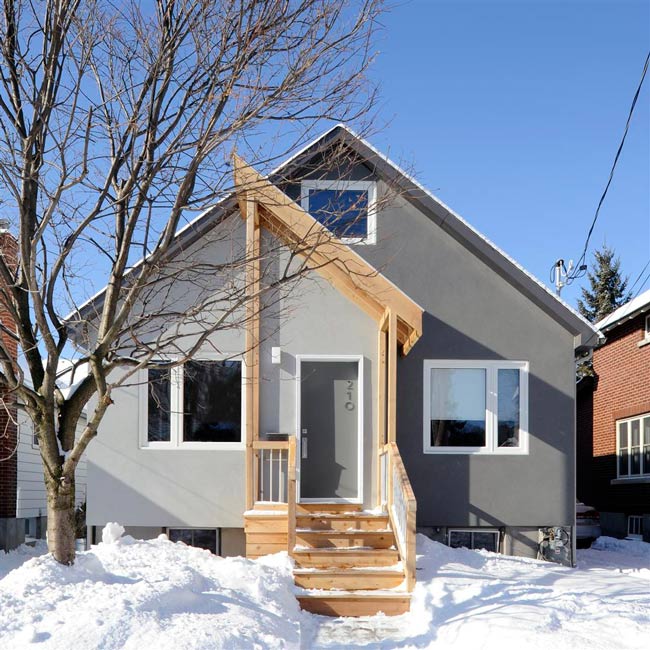
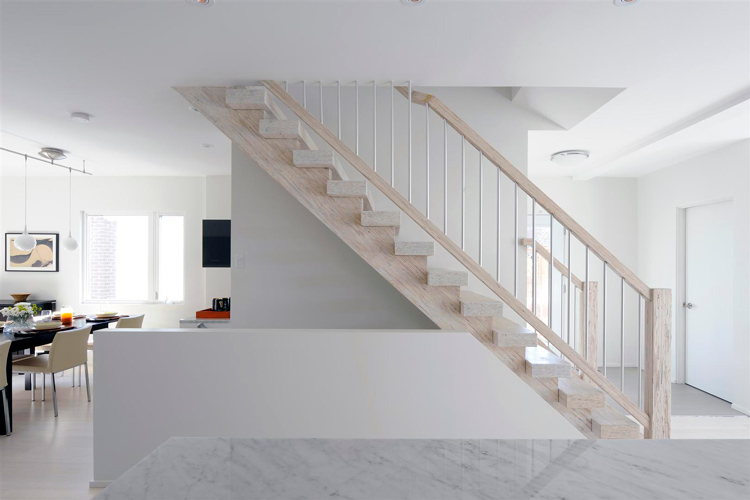
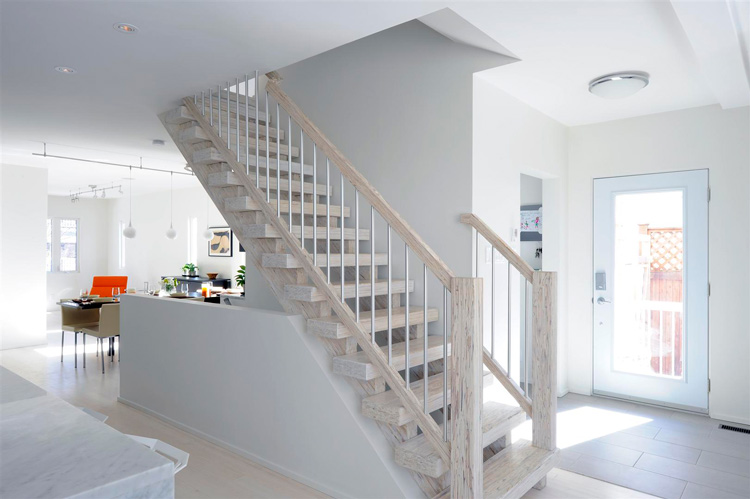
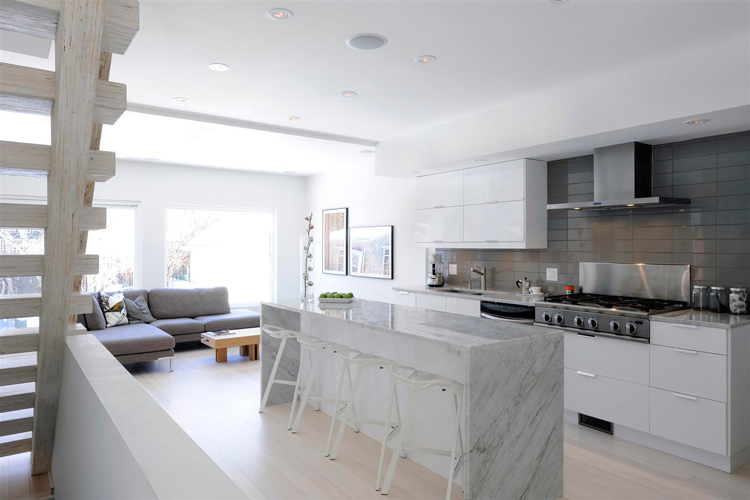
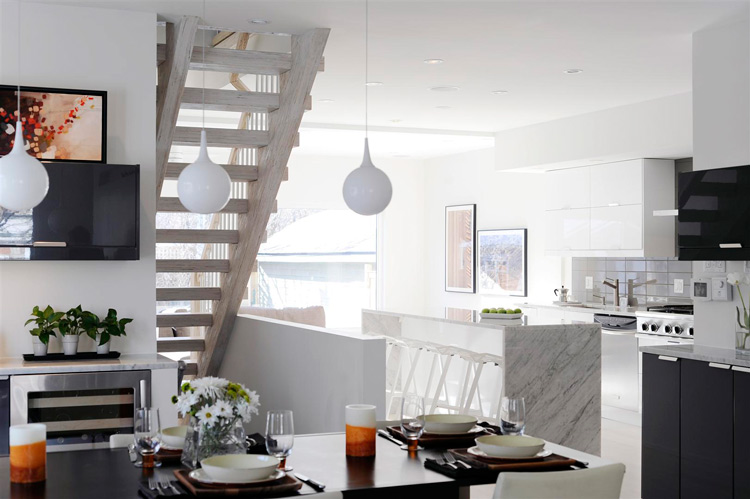
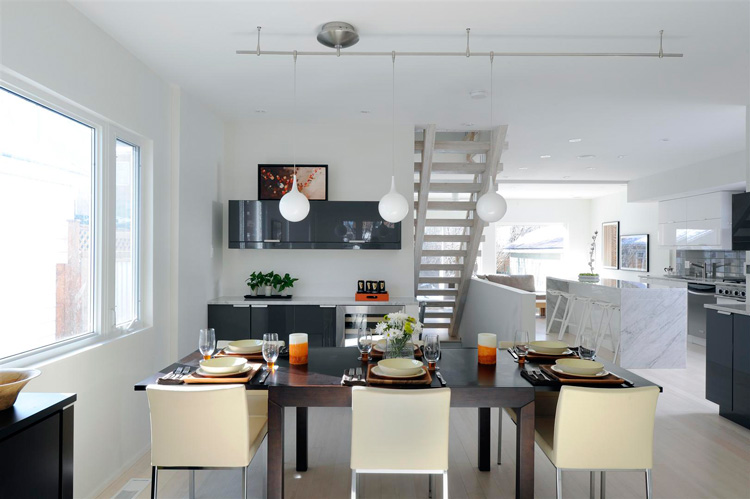
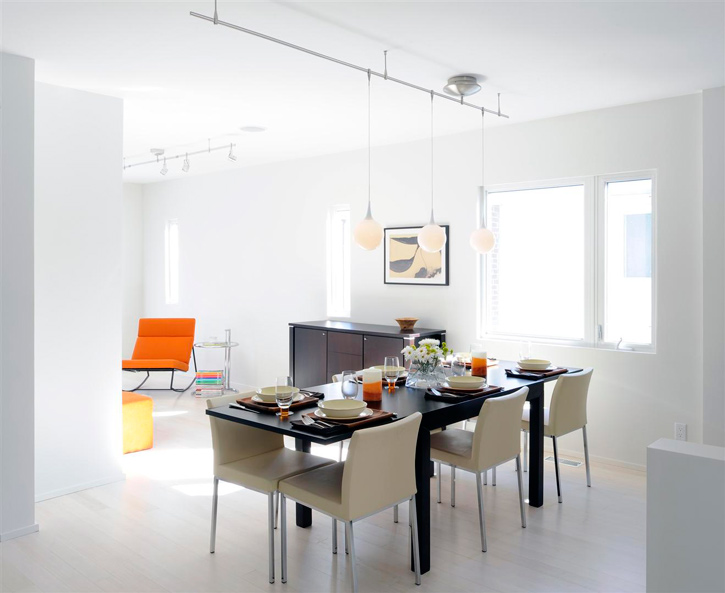
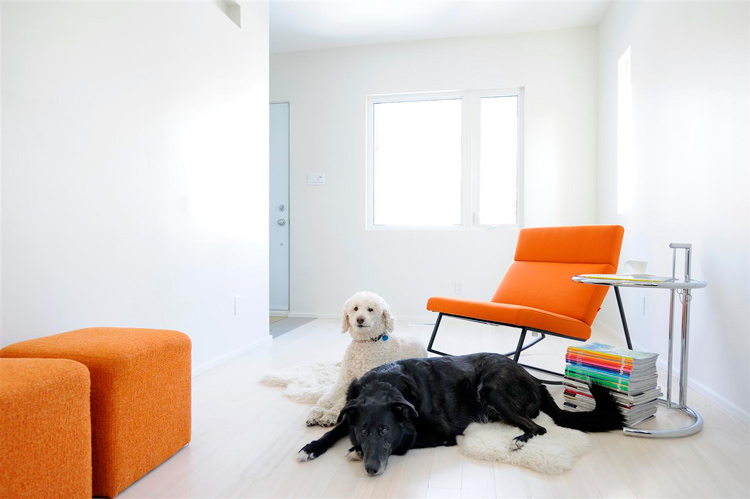
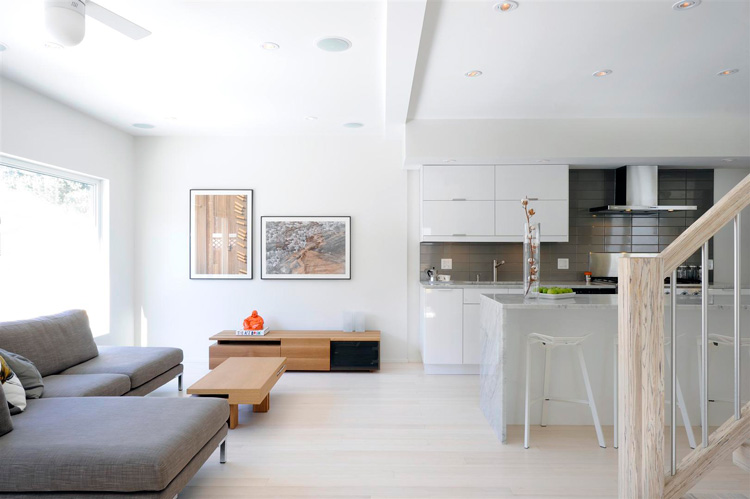
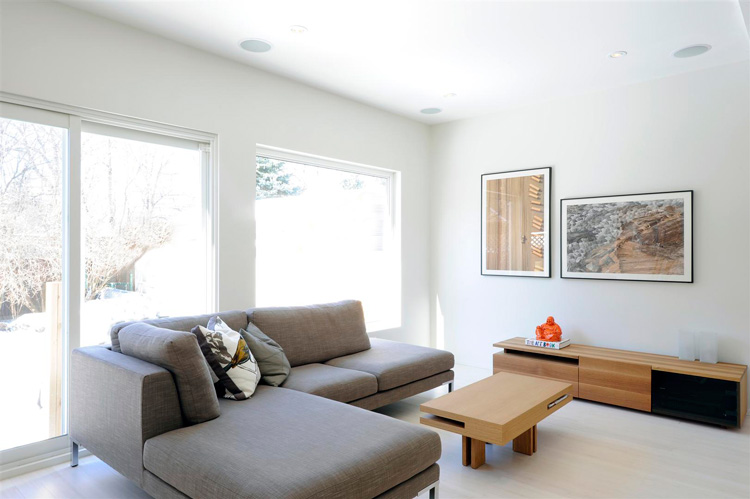
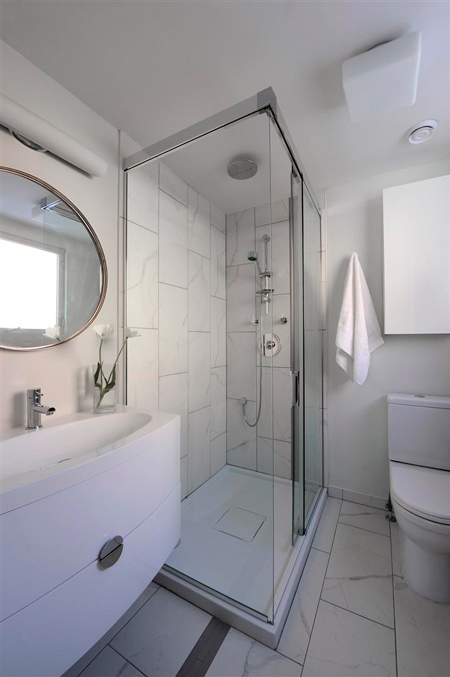
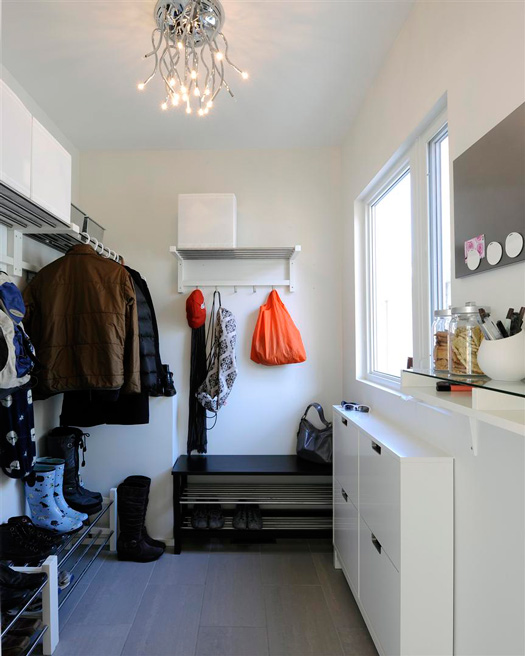
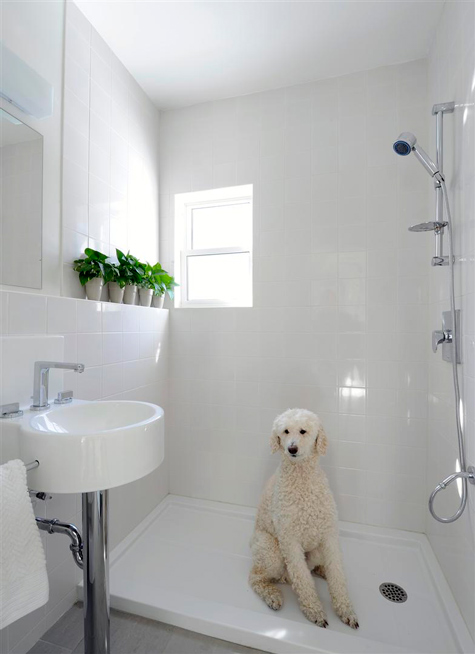
The objective was clear: build an edgy, modern, sustainable home. The wish list included: 3 bedrooms; an open concept, chef’s style eat-in kitchen for entertaining and doing heaps of cooking; an ‘urban great room’ across the back of the house to let the sun shine in and provide main floor family space; a custom, “wow” open staircase (none of that pre-fab stuff!); a mudroom; a dog bath; and an exterior that pushes the envelope. And so ensued the design process and renovation by Moneca Kaiser Design Build.
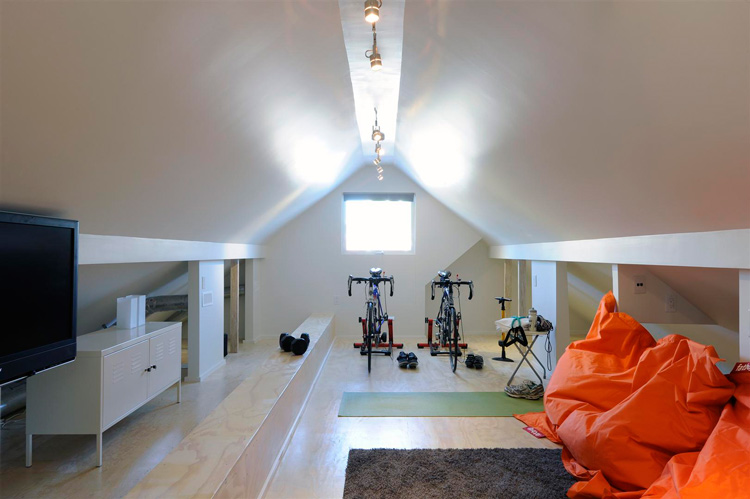
The idea was to be able to stay put, and not be forced to move in future, ‘cause that’s a whole lot of waste.To do this, for example, we put the master bedroom with ensuite on the main floor, which also features an accessible bathroom, at the side entry, that presently does double duty as a dog shower! The 2nd floor loft style family room on the ‘kids’ level’ can also easily be converted into a master bedroom (for now it’s our family room/gym).
Using sustainable products, like bamboo flooring and parallam beams for the staircase (and it is “wow”), as well as choosing greener options, such as spray foam insulation and a condensing hot water tank (among maaaany others), we aimed to take a practical approach to sustainability.
This forward thinking was carried right through to the decorating, where we opted to make the investment in well-designed pieces with nice clean lines that are totally timeless. With the exception of our One Stools by Magis, we chose an all-Canadian roster of designers, with the help of two amazing Ottawa-based home stores, Alteriors and Blueprint Home. Proudly, our furnishings are among the coolest designs by IZM Furniture, Gus Modern, LucyAu and William—all Canadian. The work of Louis Helbig, an abstract aerial photographer and fellow Ottawan, ups the edge factor, and its organic, context-free composition pulls the interior together in an uncanny way. (Sources mentioned above are listed at the end of this post!)
Below is a before photo of the exterior (bleh), a couple after photos (WOW!), and one peek at the interior (YES!). The rest of the photos are after the jump. (Photos via Gordon King)


My dressing room
Posted on Wed, 11 May 2011 by KiM
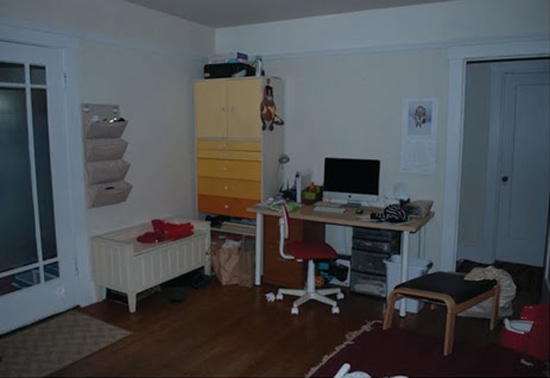
I FINALLY completed work on my dressing room and I thought I’d share it with you all now…there was a slight sense of urgency to this post because if we do the renovations on our house that we’re planning, that room is going to be demolished. *SIGH* For that reason I did not quite finish this room as I would like (ie. I wanted to dip dye the bottoms of the curtains, considered mod podging vintage wallpaper over the table in the center etc.) What’s the point since I have no clue what I’ll do in my new dressing room (which will have more space). So it’s as done as it’s ever going to get. And I’m so happy to have the space for my clothes (and my husband’s), although it does mean we cannot have overnight guests because it’s the only other bedroom besides the master. But a girl has got to have her priorities straight (particularly when it comes to clothes/shoes). LOL
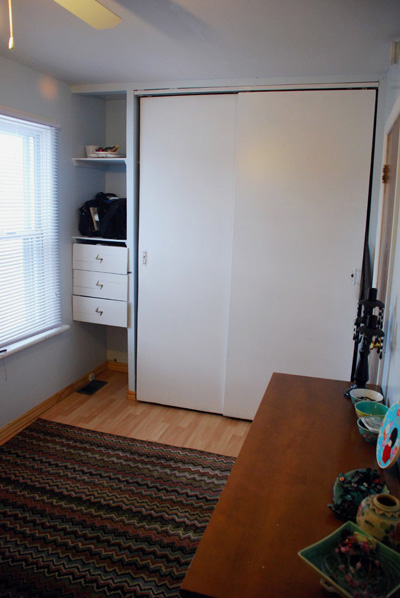
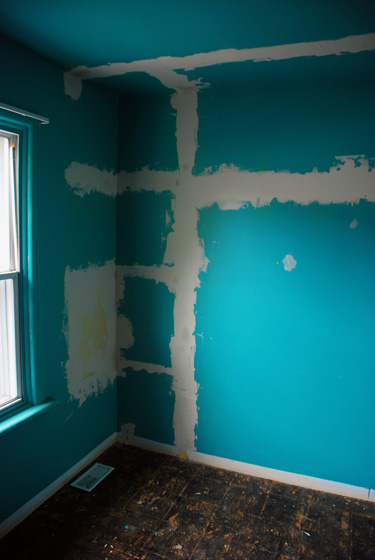
Here are some before/during photos I had to show as this was a quite a bit of work, slowly over about a year. This first photo is the only one I have that shows most of the fairly small room (6’11″x12’6″), taken right after I moved in.
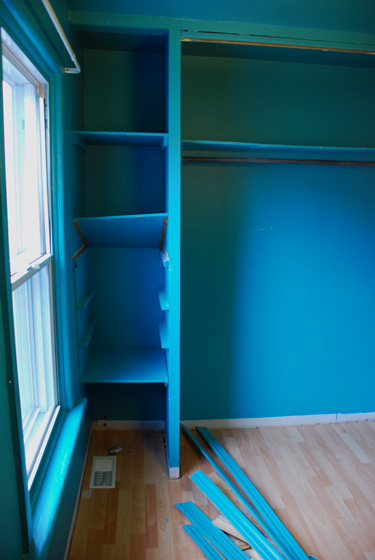
After that I decided to paint the room teal, which turned out to be a dumb idea in such a small room because it became very dark, despite the fact that there’s a fairly large window (I blogged it once here – it was so hard to photograph I don’t have many photos of that first transformation – but some are on Flickr here). With the newest version of the space, the closet was torn out (the doors were heavy pieces of wood that drove me INSANE), the walls were patched up, ugly-ass laminate floor was removed and new maple hardwood was installed (clickable – so thankfully we can reuse if we want in the new space). Here are a couple photos of the closet and floor demo:
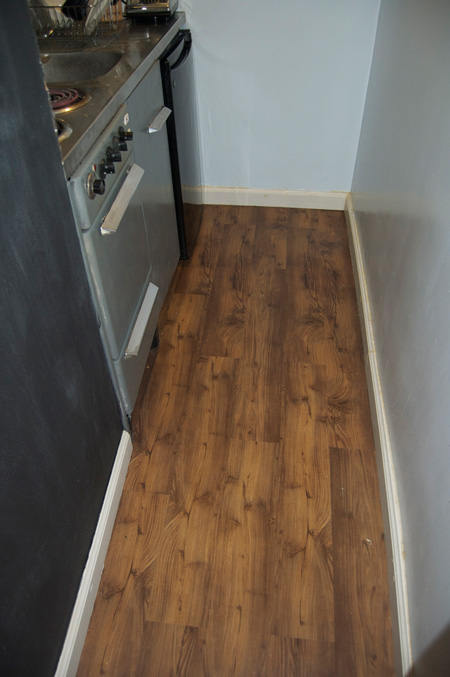
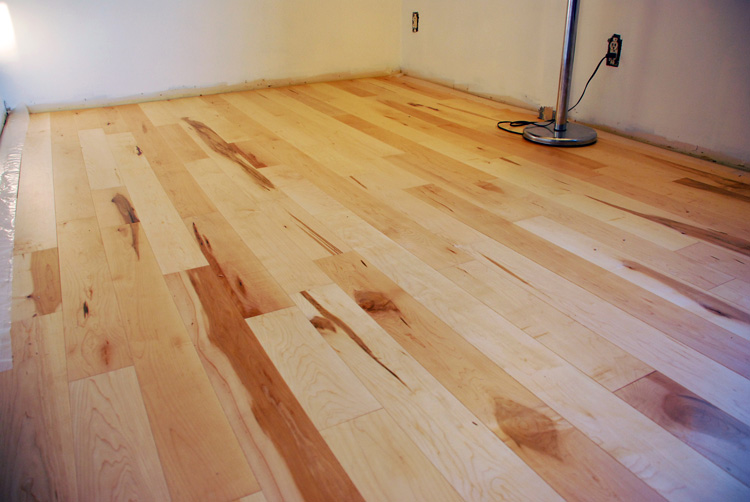
And here is a photo of the new floor right after we installed it:
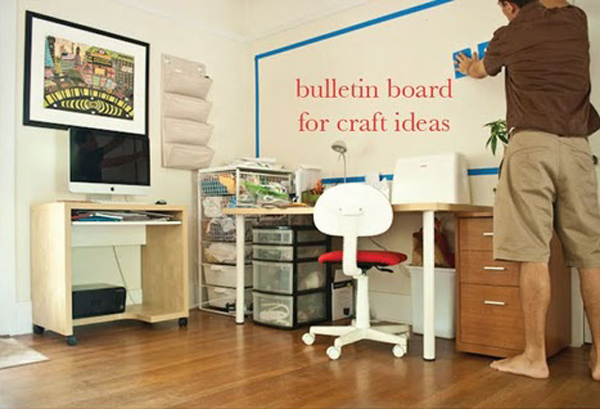
Some new baseboards, paint, rods and shelving installed, curtains (to close off the clothing storage; I kept my existing windows curtains), accessories and voila, a useful and kinda cute dressing room. A whole bunch of photos of the new room are after the jump. But here’s a quick peek:
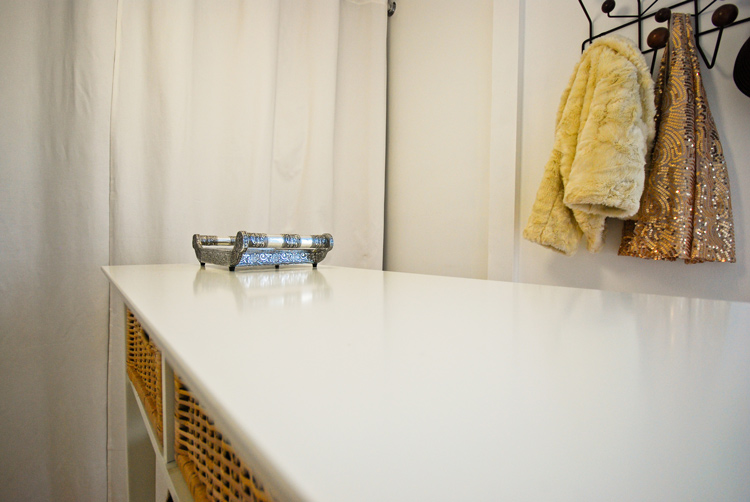
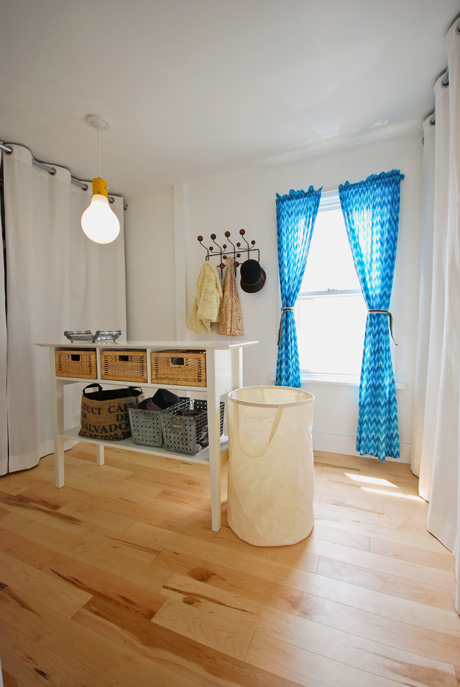
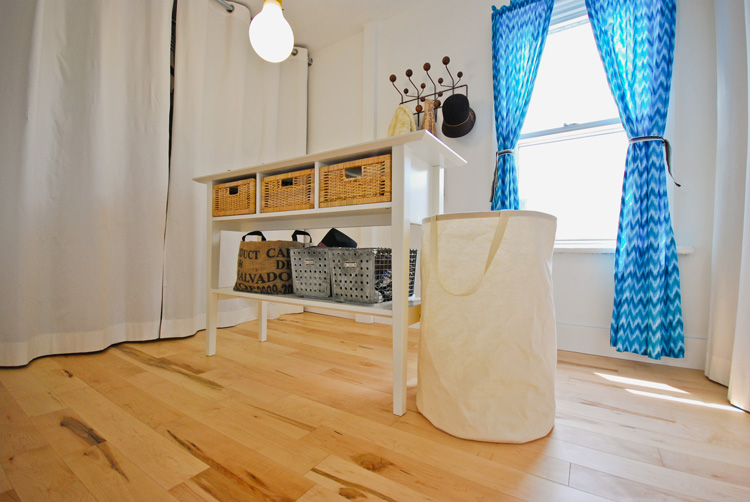
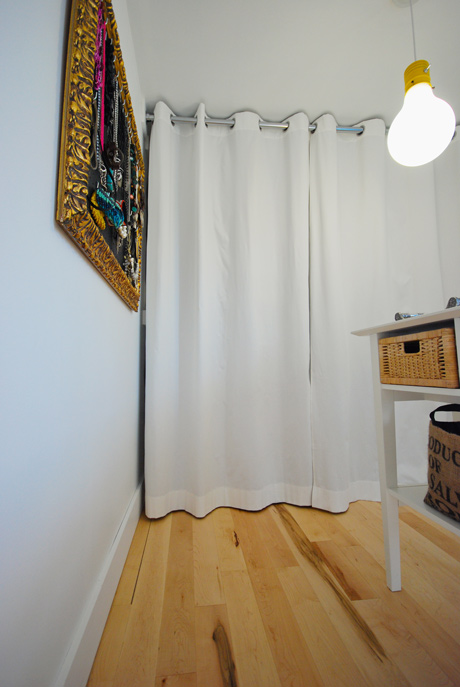
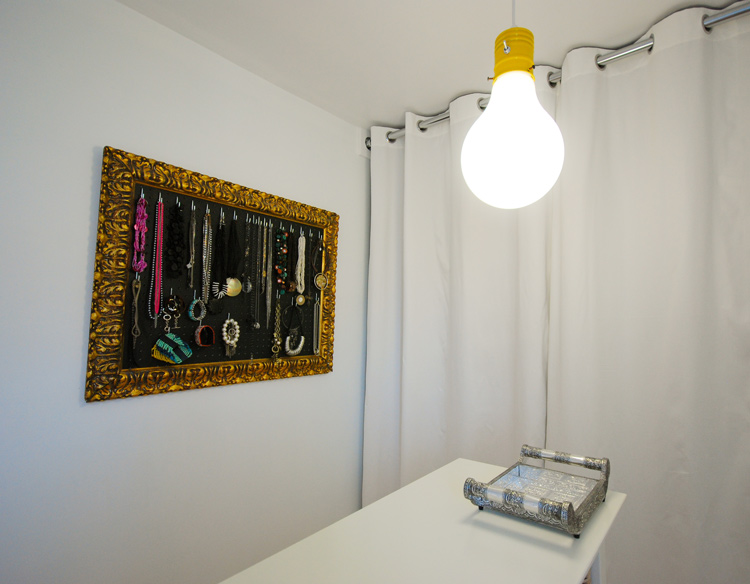
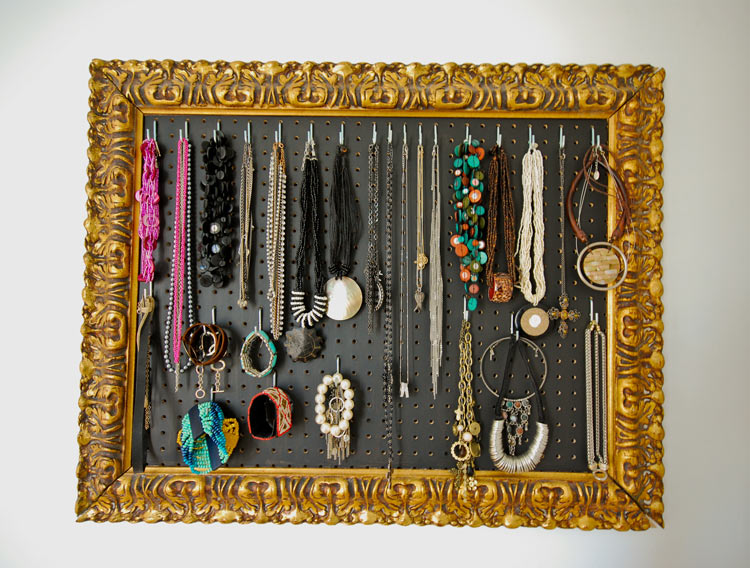
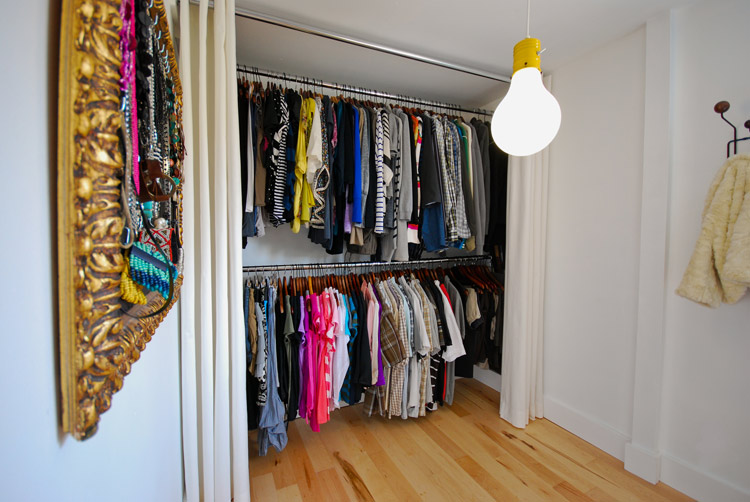
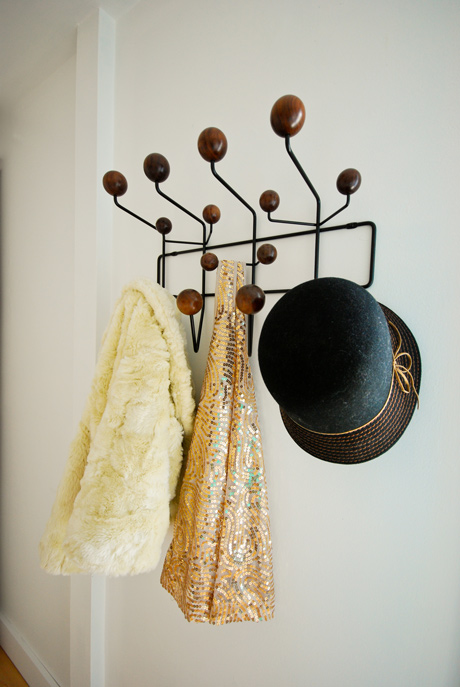
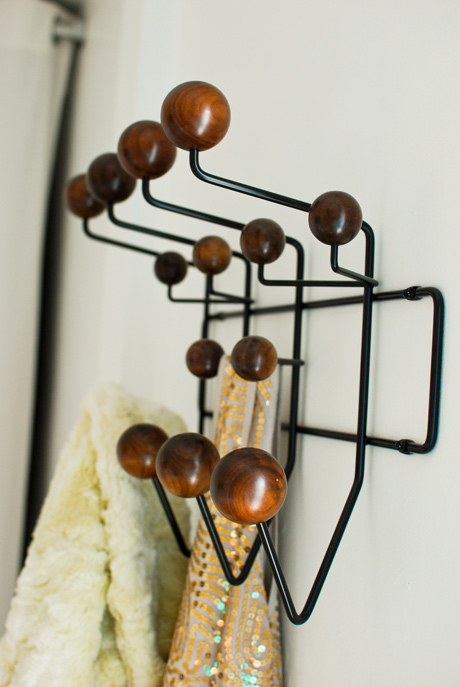
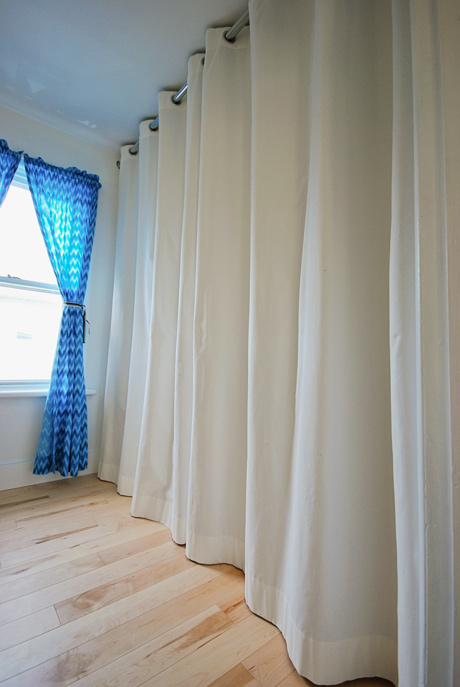
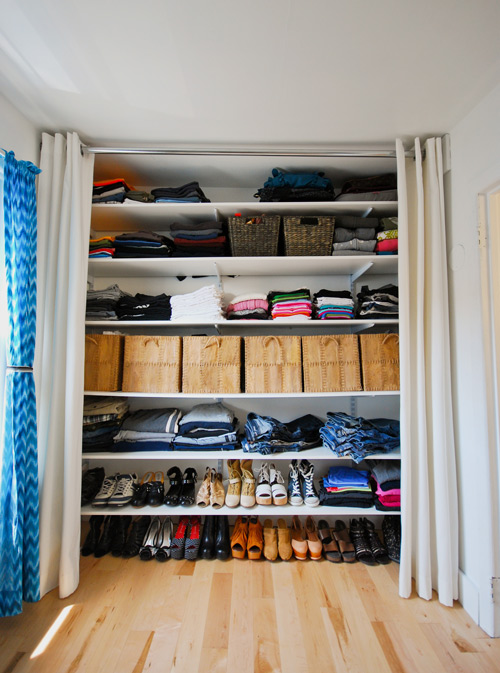
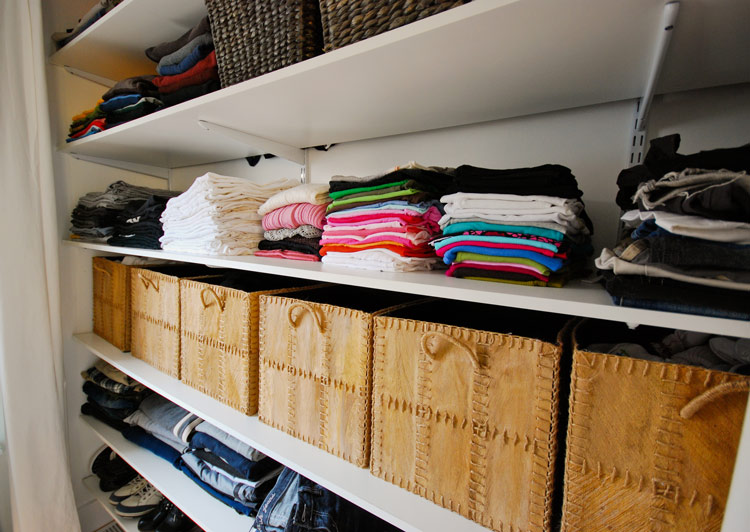
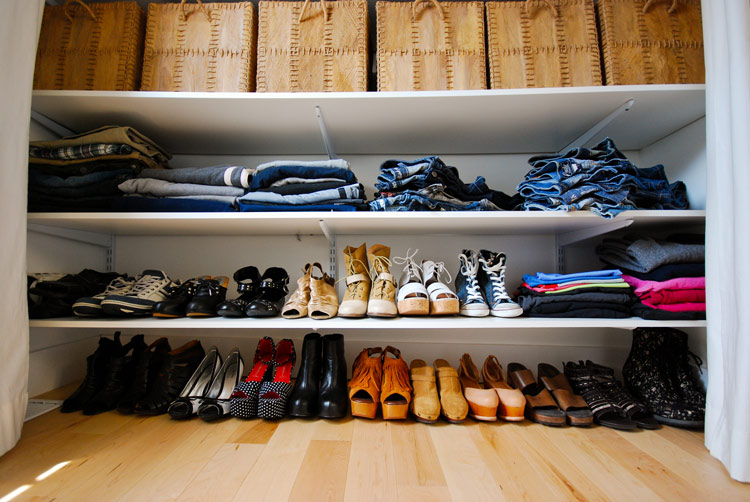

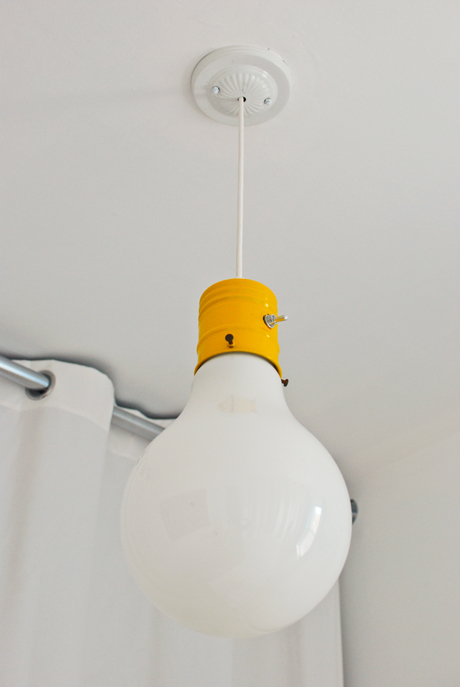
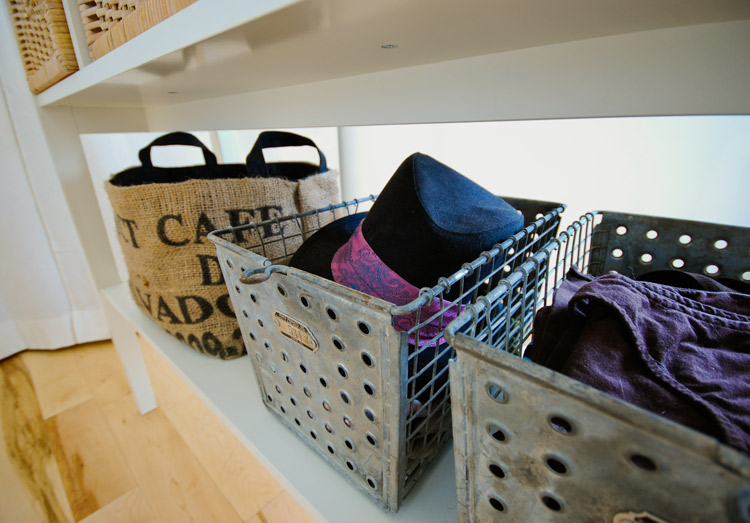

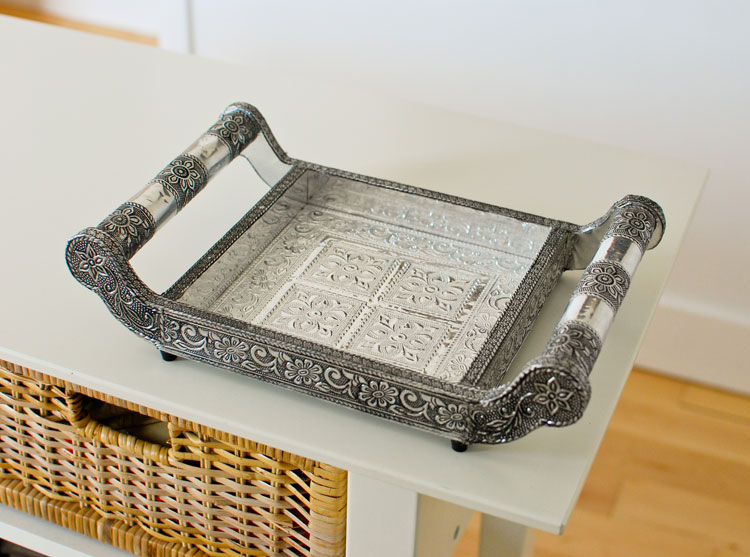
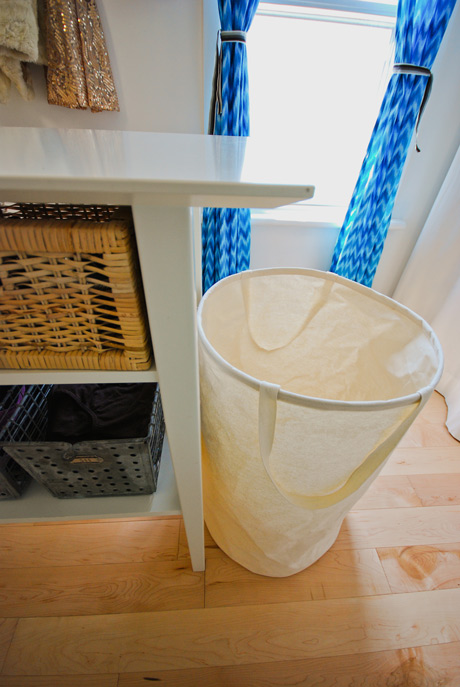
Sources: white curtains – Ikea * rods and shelving – Home Depot * laundry basket – Umbra * island/table – Ikea (Lyckhem) * flooring – Kultur * light fixure – eBay * Eames Hang-It-All – Gabriel Ross * frame with jewelry – made with vintage frame, pegboard from Home Depot, hooks from Home Hardware * tray on desk – purchased in Mexico * locker baskets, burlap basket, ikat curtain fabric – Etsy * row of baskets inside closet on shelf – Ikea