Displaying posts labeled "Renovation"
Paddington pad by SWAD
Posted on Mon, 31 May 2010 by midcenturyjo
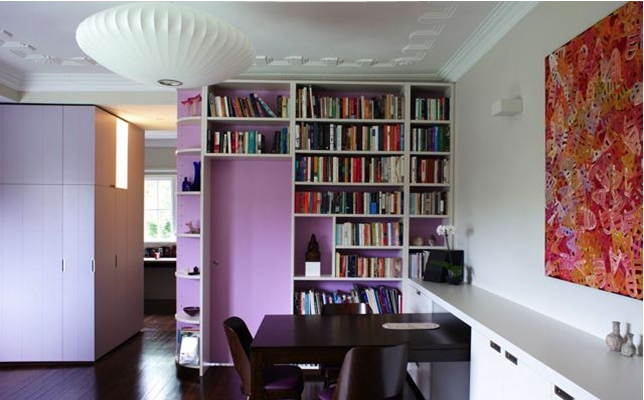
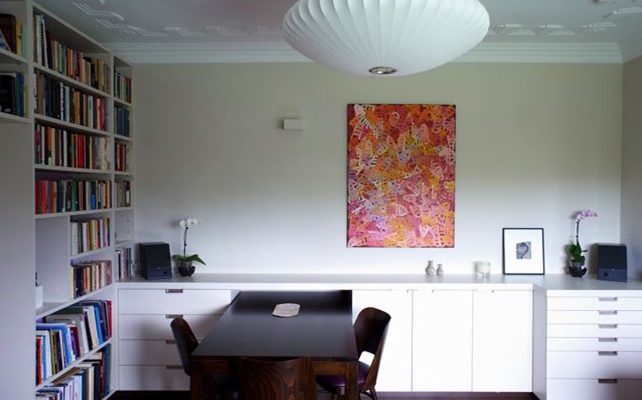
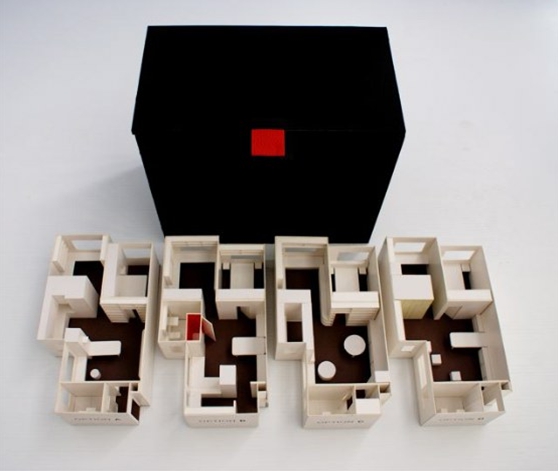
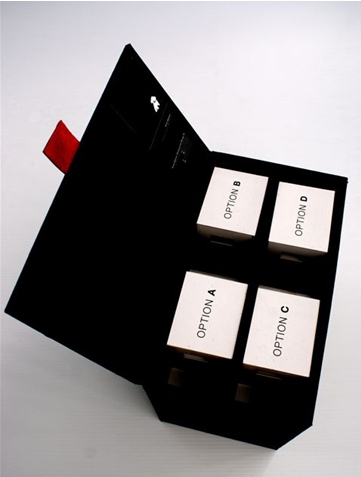
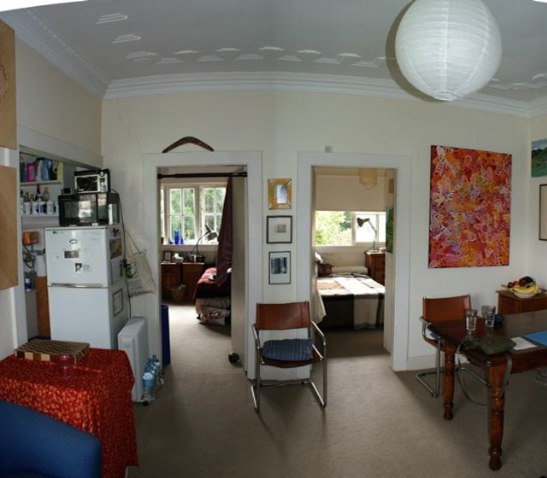
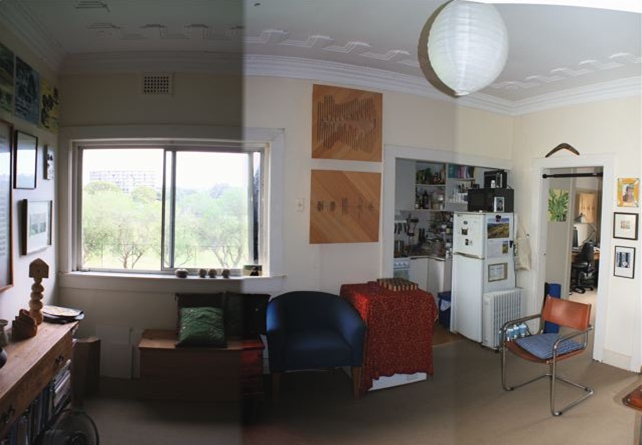
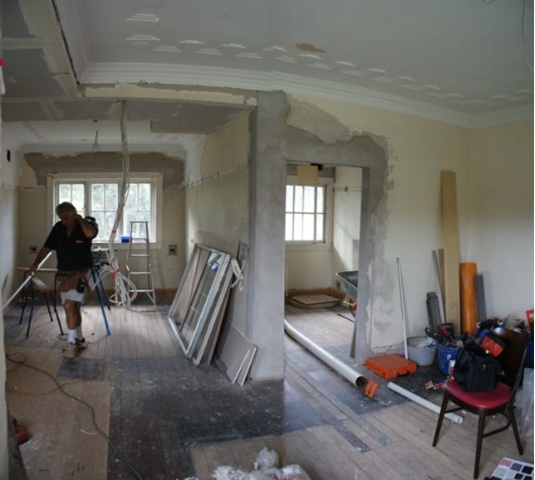
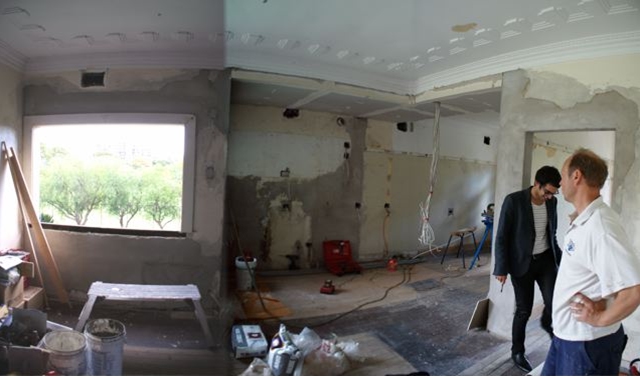
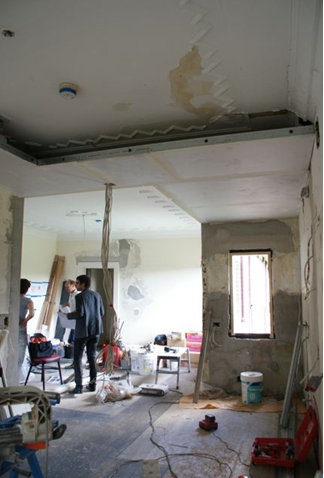
Scott Weston emailed with his latest project and as usual he included lots of pictures – before, during and after as well as his amazing presentation models in this case 4 options. Scott always writes the best descriptions of his work so I’ll let him take it away. “I thought you might like to see this jewel box of an apartment that is just 48m2 and was totally gutted and re-built within three months in Paddington, Sydney…

We fly our Contractor/Builder out from Copenhagen to do these type of quality projects as he is much more cost-effective being a jack-of-all-trades and it saves time/money (and he’s a perfectionist!). The tiniest apartment comprising existing entry vestibule, separate bathroom, living room (faces north) with small alcove kitchen and two bedrooms (one functions as an office) that both face east. We removed the wall between kitchen and study, removed the windows in the kitchen, living room and bathroom and replaced with shugg frameless sliding windows to maximise views/light. The whole apartment was gutted and the floor was partially removed and replaced then stained a deep walnut. Walls were chased for electrical and light fittings.
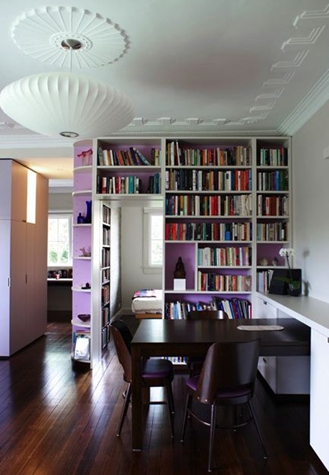
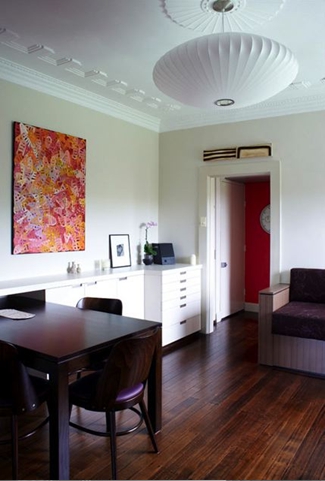
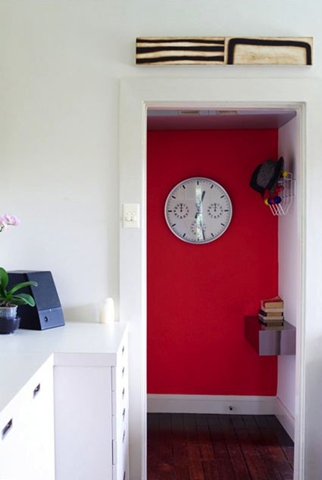
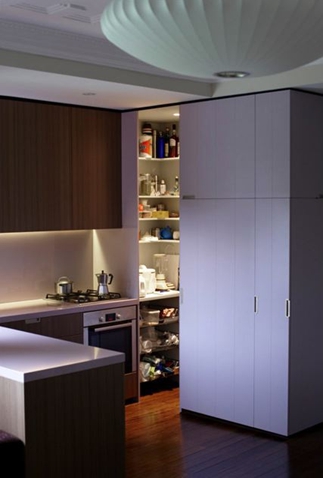
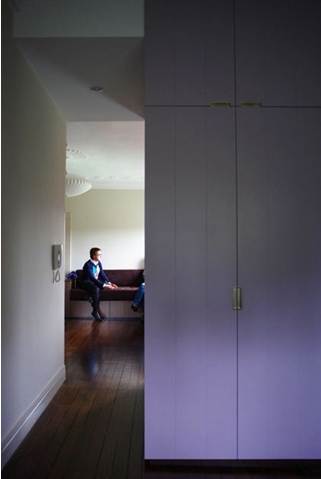
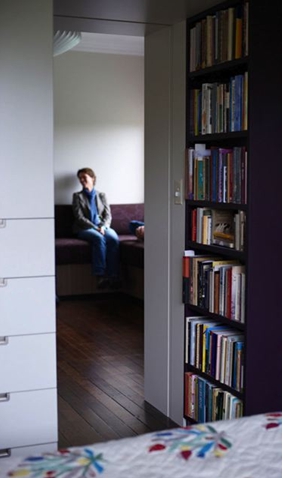
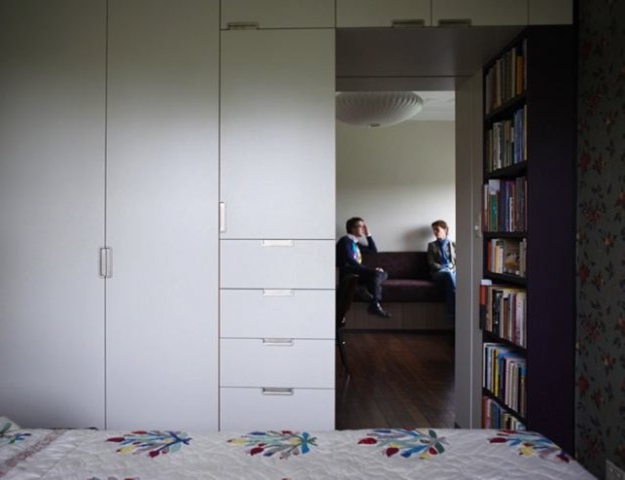
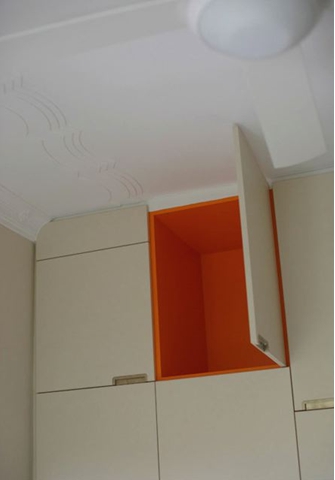
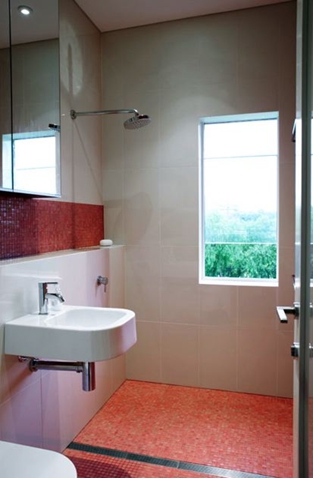
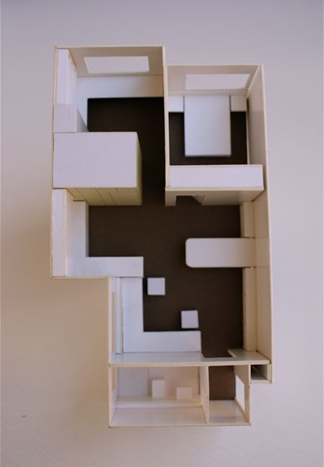
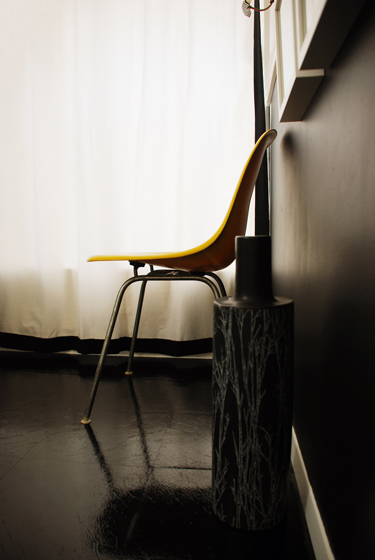
At concept stage we focused on asking the Client to provide a functional list of what their storage and living requirements were so we could assess and start to use these components as the main joinery pieces in the apartment. The main focal point is the ‘magicians box’ or multi-functional joinery unit (hand-painted in dirty mauve) that sits in the kitchen and straddles living room and study which acts as storage unit, light box, pantry, integrated fridge, wardrobe and broom cupboard. Other joinery items are room specific providing specific storage requirements with quirky details such as tangerine internal carcasses to otherwise bone white storage cupboards. Lighting is either plaster uplights, lightboxes, LED strip lighting or the hero piece in the living room the George Nelson bubble pendant that is dimmable. The kitchen benchtop is mauve (dirty mauve) with timber carcasses below and overhead cupboards with matching glass splashbacks. We designed a banquette that sits under the northern window that you can lounge on with pullout drawers underneath for added storage. The fabric seat is aubergine wool with fine pink embroidery as a detail. The bathroom is off white with translucent pink glass mosaics and matching pink epoxy grout and mirror cabinets for maximum storage. The Client is thrilled and I went shopping yesterday with them to purchase the all important Missoni bathroom towels and the french bedlinen as we are designing a chocolate brown velvet fitted bedspread! This project is a great exercise in not upgrading and moving to a bigger place but staying put, purging all the stuff you have collected and no longer need and allowing us to provide a truly beautiful design environment in which to reside.”
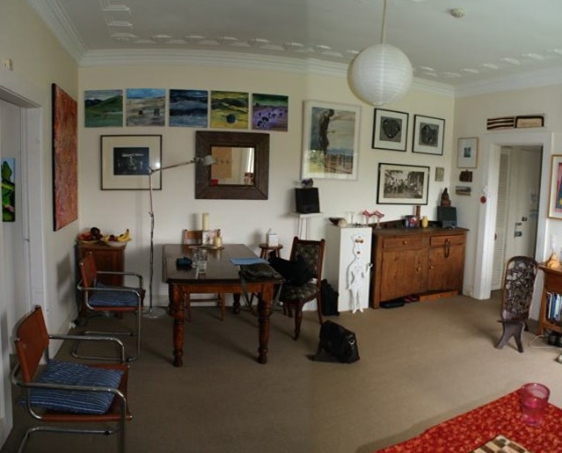
And now the befores and durings. What a transformation! What a job! What an apartment! Such clever spatial planning and beautiful bespoke cabinetry. Thanks Scott. Your work is always so inspiring.


Kim’s temporary bathroom redo
Posted on Tue, 13 Apr 2010 by KiM
I mentionned here on DTI a while ago that I was working on another home project but I didn’t give away too many details. I FINALLY finished and now it’s time to share.
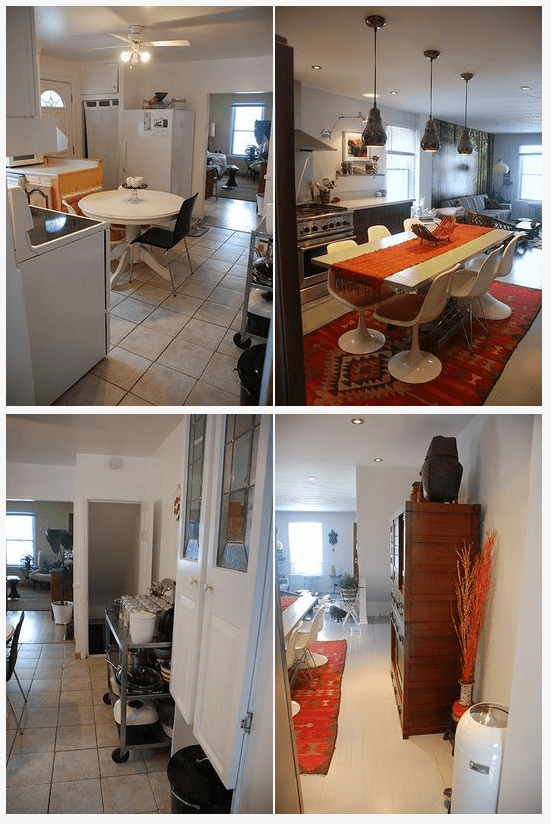
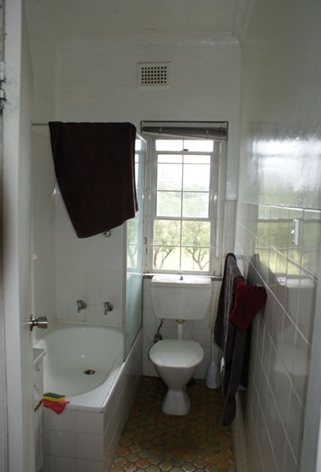
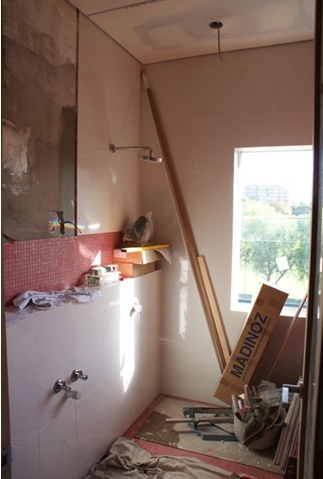
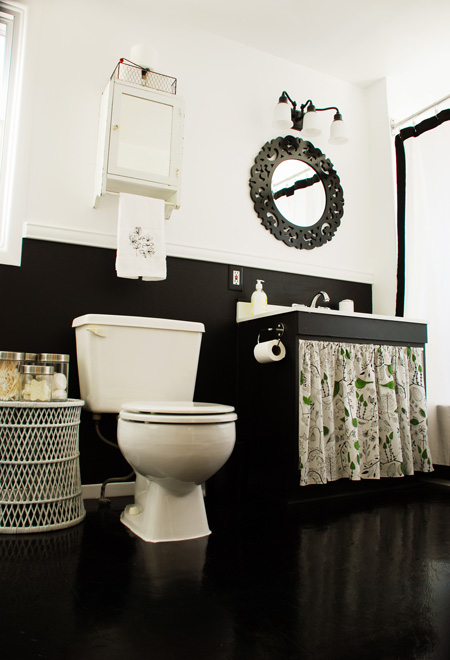
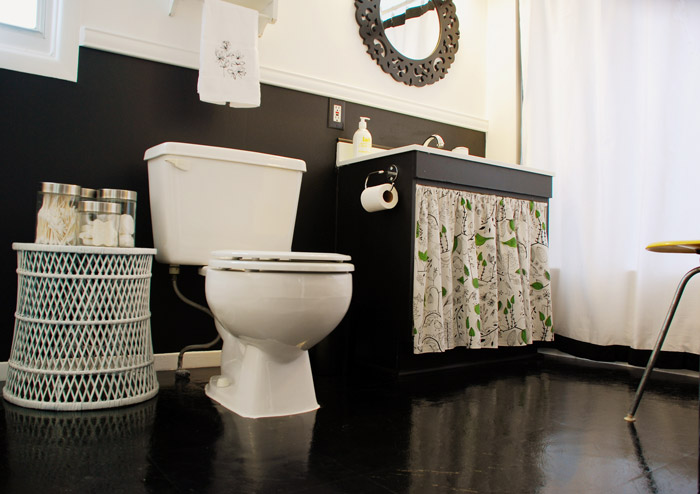
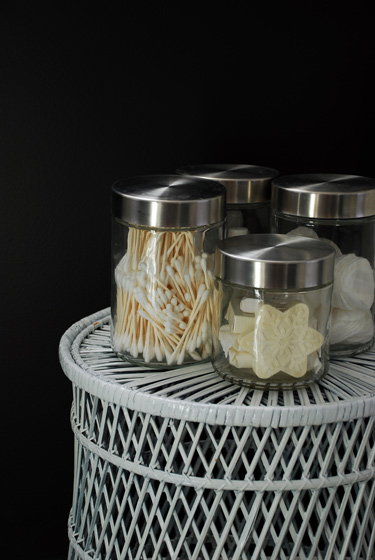
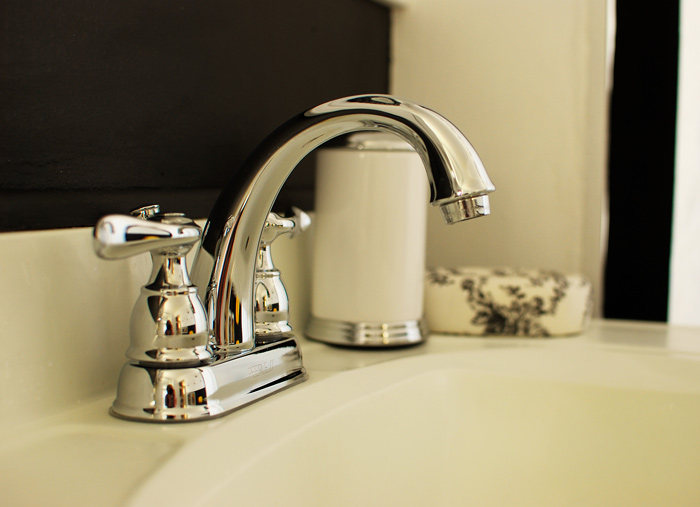
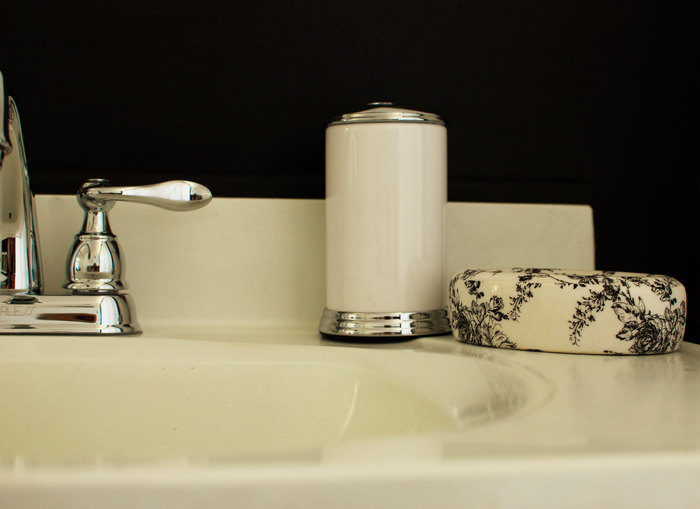
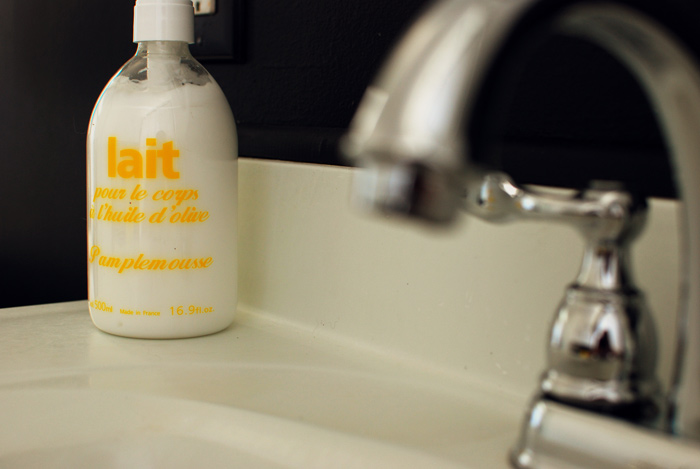
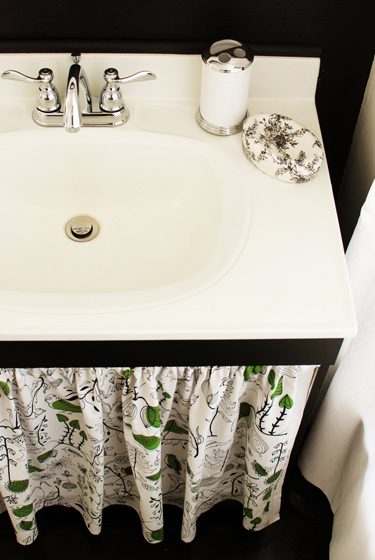
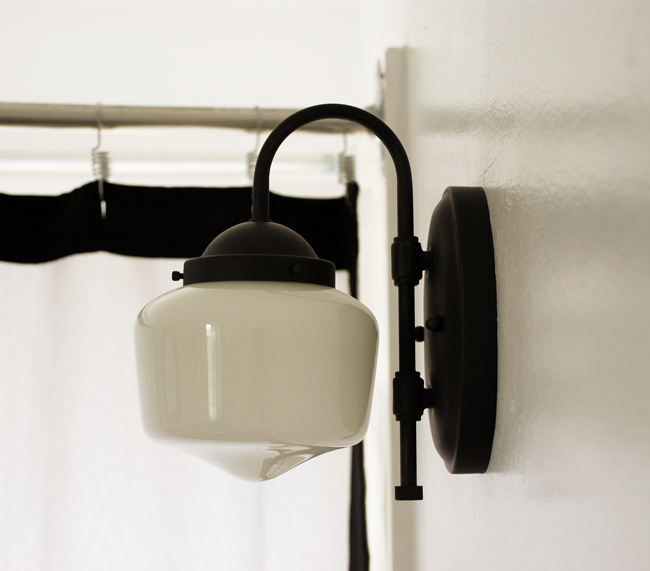
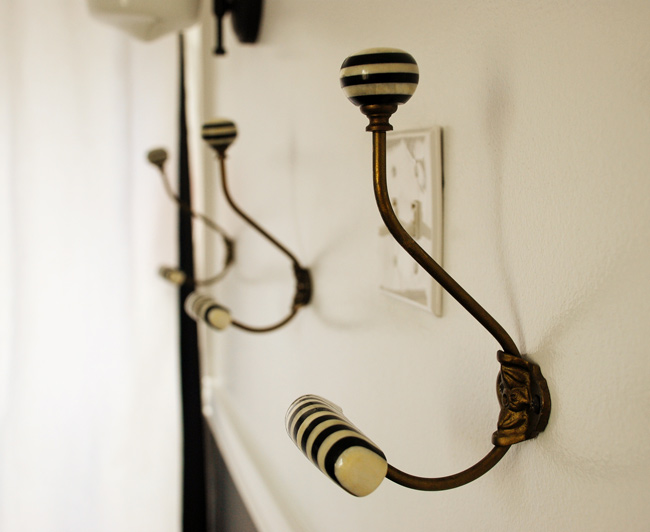
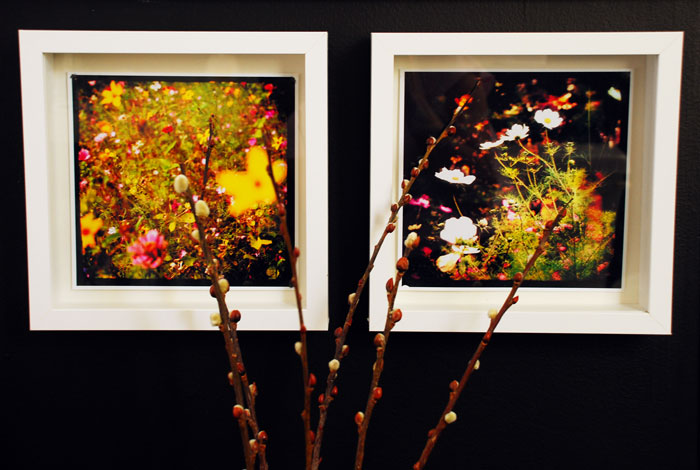
I had grown VERY tired of the ugliness of my main bathroom. One day I hope to gut the space and completely redo every piece of it but in the meantime the ugliness was getting on my last nerve. And I needed a project because I just wasn’t busy enough. (HA). So here are a couple photos of the bathroom before I tackled it – and this is how it had been since I bought the home more than two years ago.

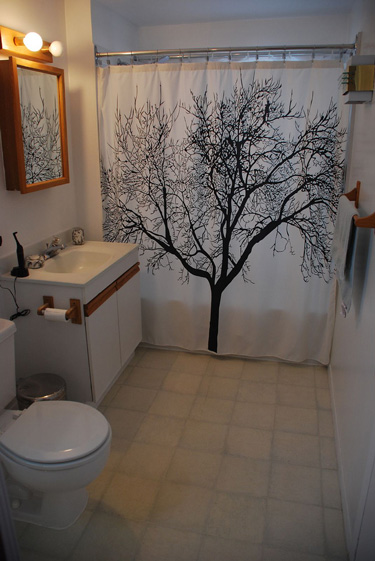
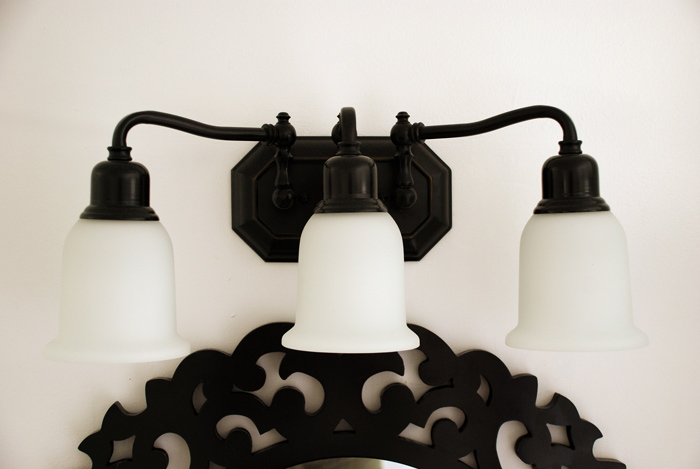
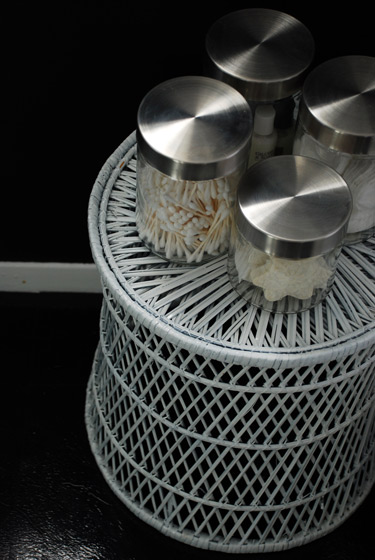
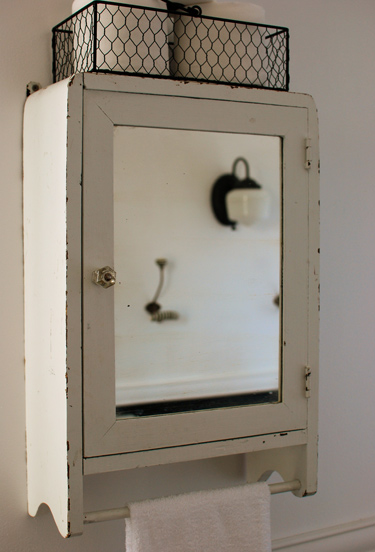
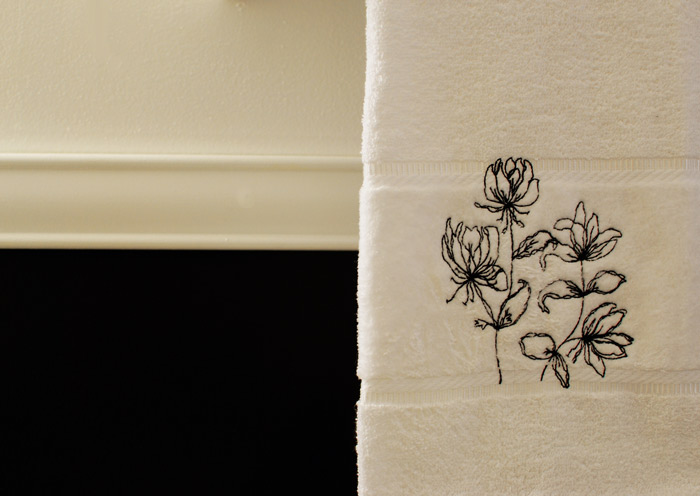
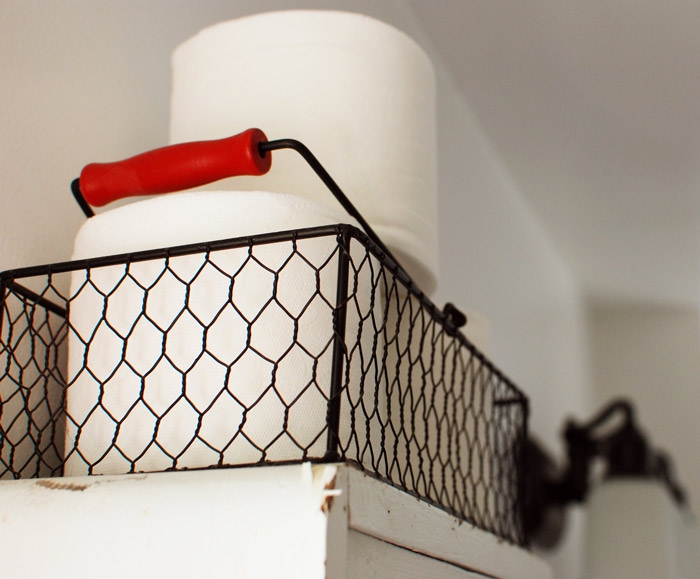
Trust me, it was even worse in person. The linoleum floor was scratched to sh*t, and so dirty and stained it was impossible to clean. The main light fixture, medicine cabinet, towel bar, light switch plate, outlet plate, toilet paper holder were ALL made of nasty wood. SO GROSS. I’m pretty sure the cabinet over the toilet was hung upside down. The faucet was probably the cheapest one you could buy and was missing a piece on the front to cover the screw. The walls were white and BORING. There’s a small window to the left of the toilet that had bright green plastic blinds hanging. There’s a second light fixture on the wall opposite the sink that had a nasty 80s vibe. The whole space was just awful. Until I can gut the room, I decided to do a cheap makeover. Some leftover paint, new inexpensive faucet and lighting, addition of a chair rail, cheap lino peel and stick tiles, some items brought in from other spaces around my house to decorate and VOILA, a temporary fix to keep me from losing my mind.


Reader’s home
Posted on Tue, 9 Feb 2010 by KiM
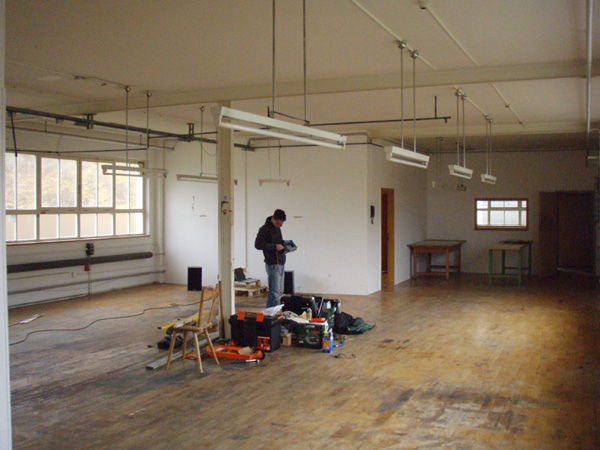
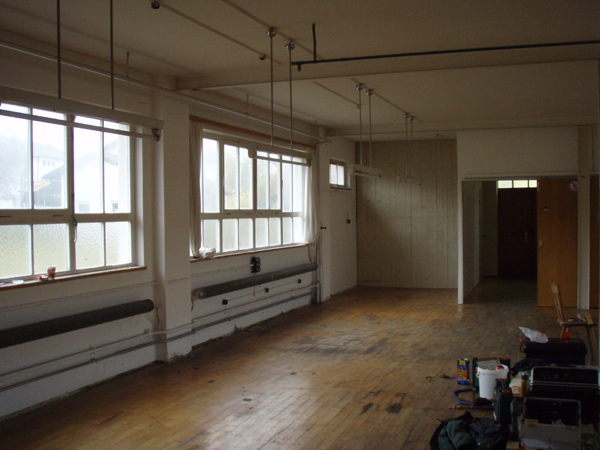
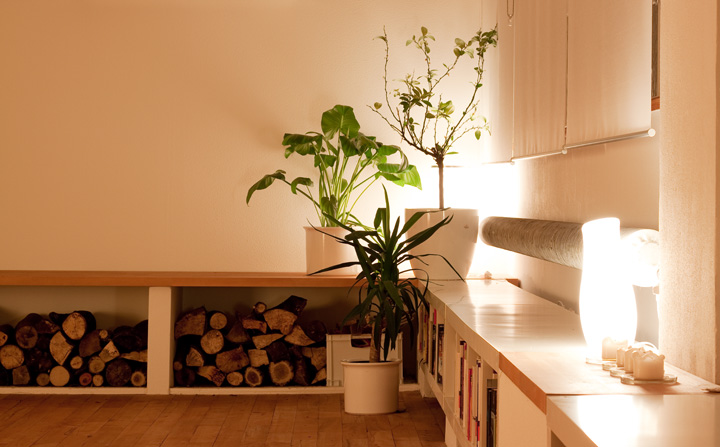
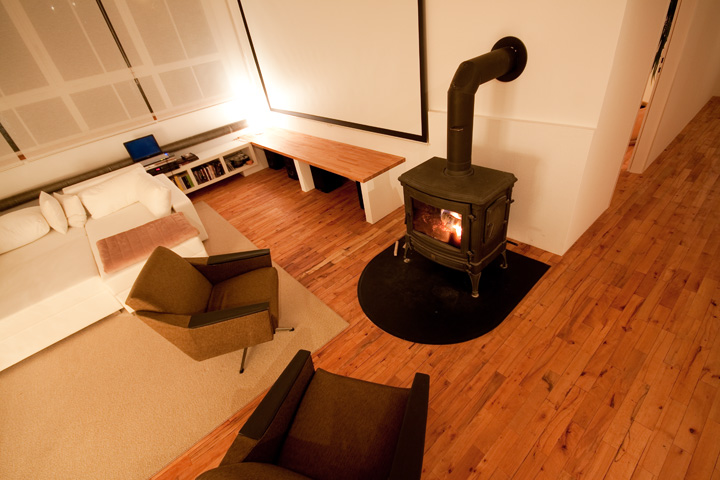
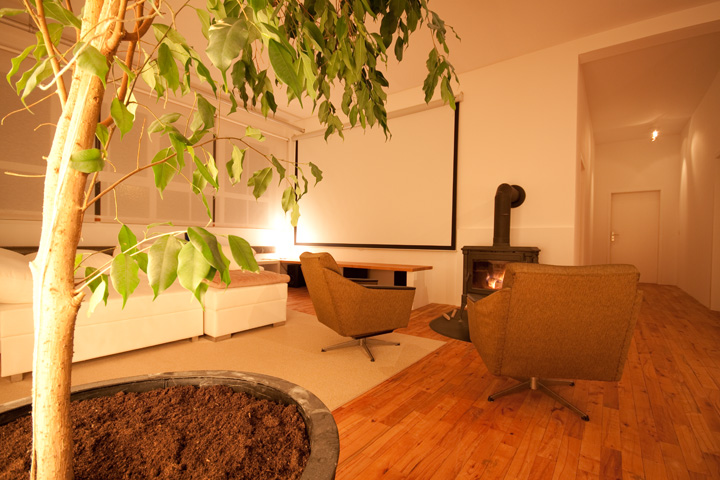
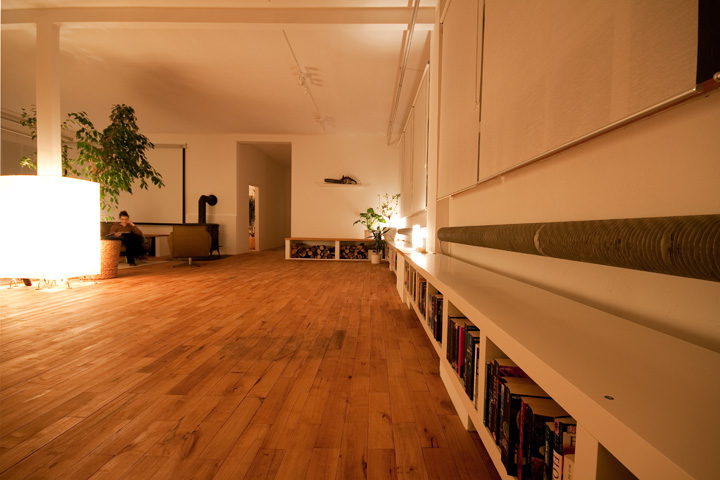
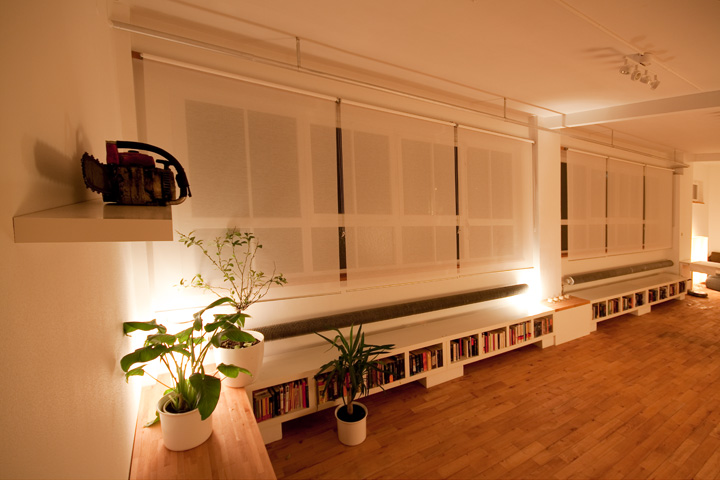
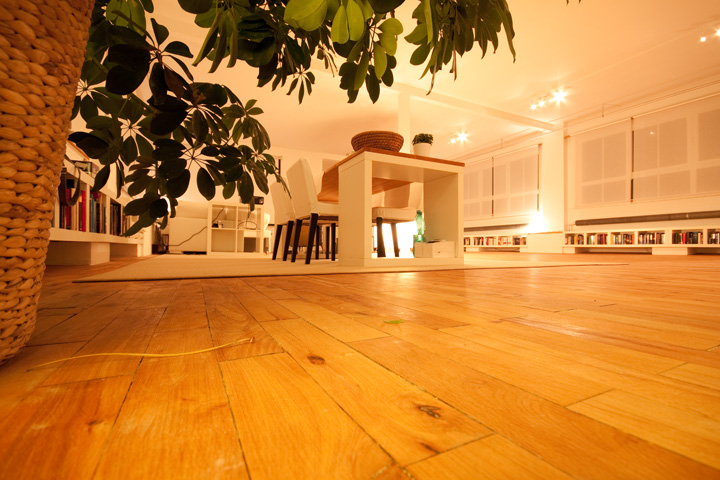
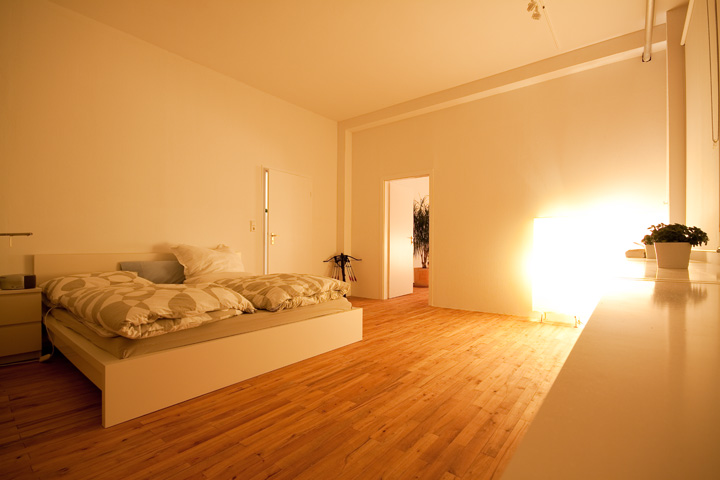
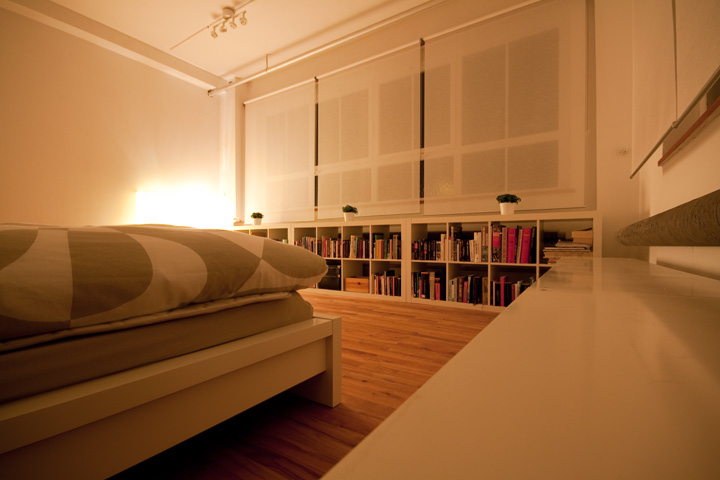
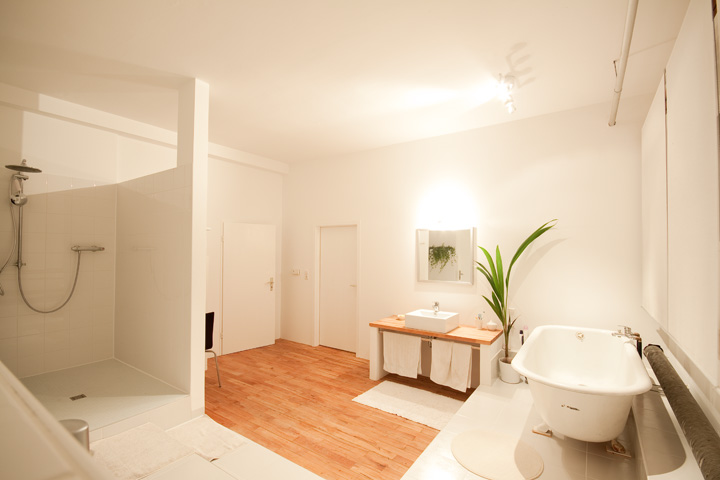
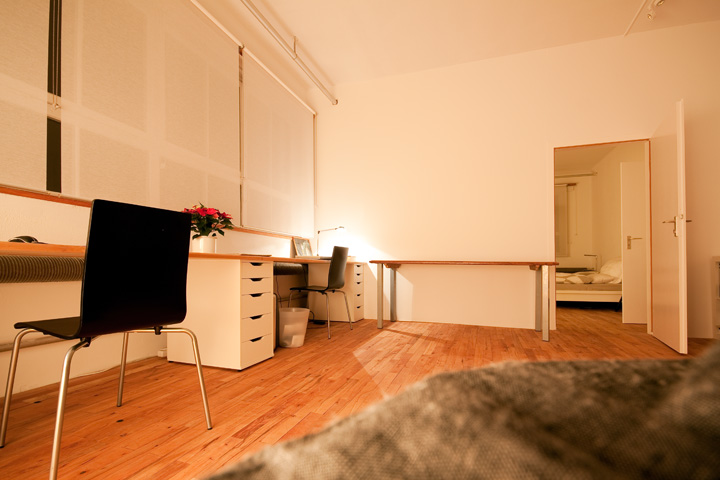
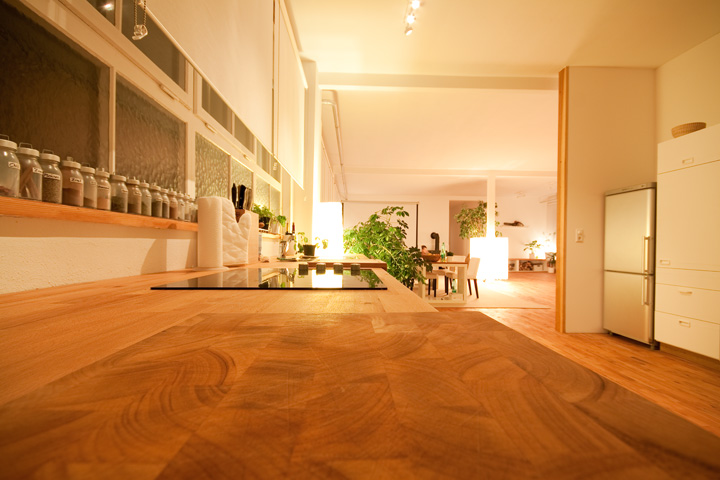
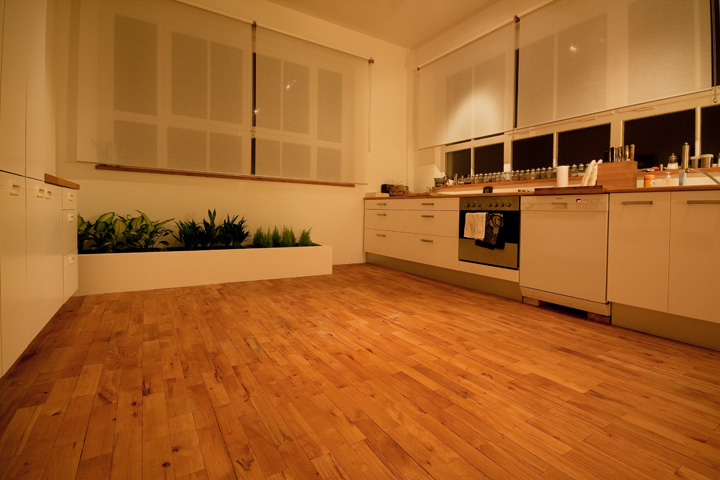
For as long as I can remember I have wanted to live in a converted loft (and this desire has grown in the past 2 years since living in a 12′ wide home). What a pleasure to find an email in my inbox from Peter Wagner of Germany who wanted to share his loft with our readers. It is located in an old factory and in one year Peter converted the space HIMSELF into a spacious and cosy home that I am utterly envious of. Here are a couple before photos that show how much work he took on:
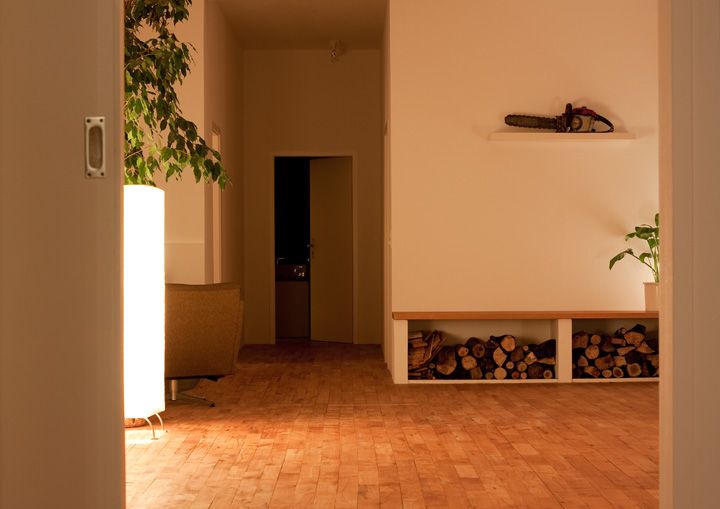
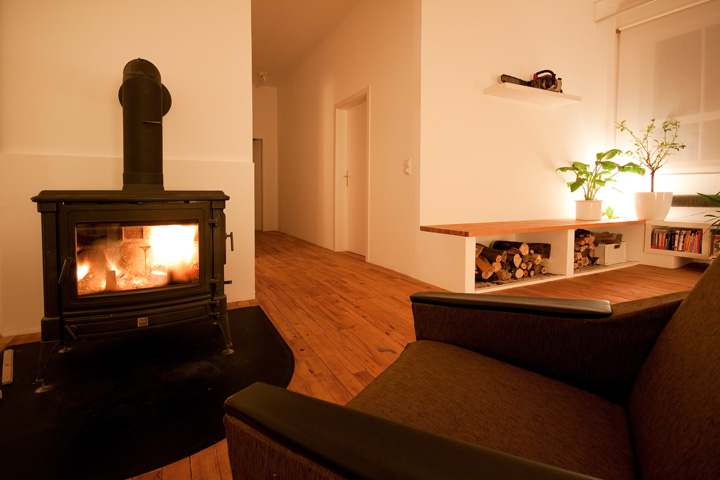
And now photos of the newly renovated space that he did such a wonderful job with. I especially love his use of Ikea storage units throughout. (Photos by the talented Michael Berger).
My dream kitchen
Posted on Tue, 17 Mar 2009 by KiM
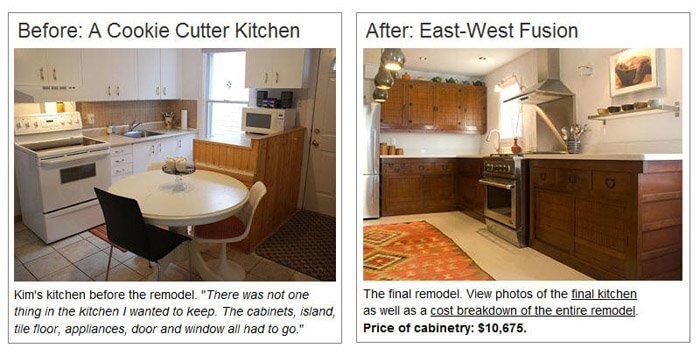
This blog chronicles my entire kitchen renovation from start to finish. Greentea Design has provided me with their solid wood kitchen cabinets, and I’m taking care of the rest.
If you’d like to be brought up to date, check out my kitchen remodel blog for an archive of previous posts. I posted recently some before and after photos, and for this final post I’d like to share some photos I took for Greentea, the interview they have added to their website about my renovation, and a video tour of the kitchen.
My kitchen is complete, and I am ecstatic at the result. I can finally say that I have my dream kitchen. It is beyond my expectations, and every time I walk through my front door and see it, I can’t help but smile. I am never going to want to sell this house. I can’t imagine leaving this kitchen behind. I’d like to take this opportunity to again thank the folks at Greentea Design. They made this dream come true for me, and I am so grateful (and shocked) that they agreed to this partnership. It was alot of fun and hard work (on both our parts) and they were so patient and helpful throughout the whole process. I hope I can get in a trip to Toronto sometime soon so I can finally meet them and see their showroom. So thank you Greentea Design – you guys ROCK and I’m so proud to have a Greentea kitchen.
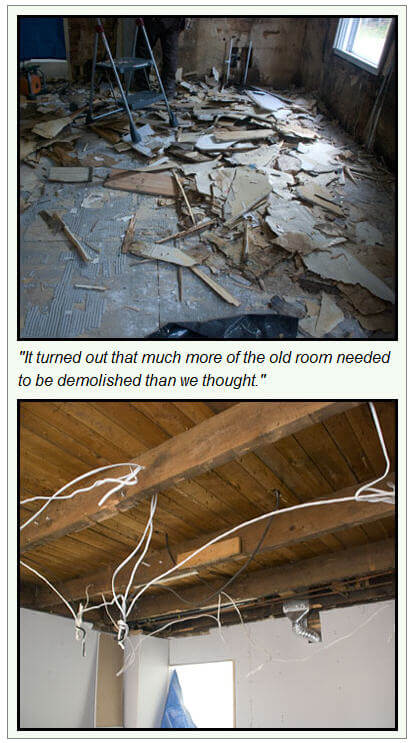
To start this post off, I wanted to invite you to check out the interview Greentea did with me that is now published on their website. They’ve divided it into 3 parts – Planning, Demolition and Installation, and the Finished Kitchen. What an honour to have my renovation featured on their main page. Here are some photos they’ve included in the interview.
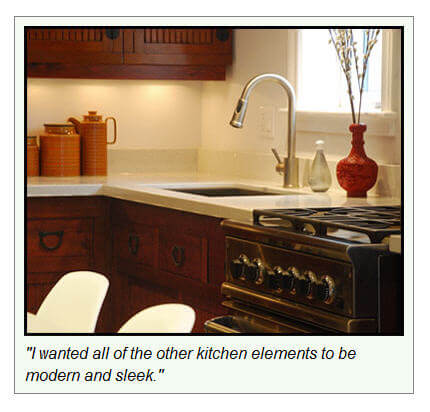
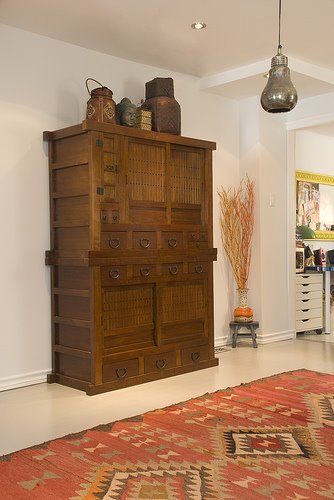
I took some photos not too long ago for Greentea that really showcase the cabinetry so I thought I’d share some of them. (For the purpose of getting decent shots of the cabinets, the dining table and chairs were pushed into the living room).
For more final photos, and to see my video tour (complete with cat shenanigans), click HERE.
Before and after
Posted on Tue, 27 Jan 2009 by KiM
Just a heads-up for those folks who were following my kitchen renovation. I’ve done a post over on my kitchen blog of before and after photos, which I think are really helpful to give a realistic idea of the extent of the project. A peek is below, and here is a link to the post.